J Spicey Gifts
  • Home
  • Recipes
    • Breakfast & Brunch
    • Appetizers & Snacks
    • Main Dishes
    • Soups & Salads
    • Desserts & Baking
    • Drinks & Beverages
  • Categories
    • Vegetarian
    • Vegan
    • Gluten-Free
    • Quick & Easy (30-Min)
    • Slow Cooker & Instant Pot
    • Grilling & BBQ
    • Healthy & Low-Calorie
    • Holiday & Seasonal
    • Kid-Friendly
  • About
  • Contact
Top Posts
Vibrant Crunchy Rainbow Quinoa Salad with Zesty Cilantro-Lime...
Spicy Curried Butternut Squash Soup with Crunchy Pepitas
Sweet and Savory Teriyaki Salmon with Sesame-Infused Bok...
Robust Chorizo and Creamy White Bean Casserole
Lime-Infused Coconut Grilled Chicken with Fresh Pineapple Salsa
Smoky Paprika Quinoa-Stuffed Bell Peppers
Herb-Infused Lemon-Garlic Butter Shrimp Risotto
Creamy Spinach and Sun-Dried Tomato Queso Dip
Savory Herbed Goat Cheese-Stuffed Mini Bell Peppers
Tropical Sweet Chili Mango-Cucumber Sushi Rolls
J Spicey Gifts
  • Home
  • Recipes
    • Breakfast & Brunch
    • Appetizers & Snacks
    • Main Dishes
    • Soups & Salads
    • Desserts & Baking
    • Drinks & Beverages
  • Categories
    • Vegetarian
    • Vegan
    • Gluten-Free
    • Quick & Easy (30-Min)
    • Slow Cooker & Instant Pot
    • Grilling & BBQ
    • Healthy & Low-Calorie
    • Holiday & Seasonal
    • Kid-Friendly
  • About
  • Contact
J Spicey Gifts
J Spicey Gifts
  • Home
  • Recipes
    • Breakfast & Brunch
    • Appetizers & Snacks
    • Main Dishes
    • Soups & Salads
    • Desserts & Baking
    • Drinks & Beverages
  • Categories
    • Vegetarian
    • Vegan
    • Gluten-Free
    • Quick & Easy (30-Min)
    • Slow Cooker & Instant Pot
    • Grilling & BBQ
    • Healthy & Low-Calorie
    • Holiday & Seasonal
    • Kid-Friendly
  • About
  • Contact
Copyright 2021 - All Right Reserved
Fiery Peanut Butter & Honey Glazed Tofu Stir-Fry with Broccoli
Main DishesQuick & Easy (30-Min)Vegetarian

Fiery Peanut Butter & Honey Glazed Tofu Stir-Fry with Broccoli

by Linda July 26, 2026
written by Linda

Experience a delightful balance of heat and sweetness with this Fiery Peanut Butter & Honey Glazed Tofu Stir-Fry with Broccoli. This dish is perfect for a quick weeknight dinner and offers a satisfying meal packed with plant-based protein and vibrant greens.

The star of this recipe is the rich, glossy peanut butter and honey glaze that clings to the crispy tofu and tender broccoli, providing a burst of flavor in every bite. It’s simple, yet it brings a unique twist to your typical stir-fry, making it a go-to for both tofu lovers and those new to plant-based cooking.

Fiery Peanut Butter & Honey Glazed Tofu Stir-Fry with Broccoli

Fiery Peanut Butter & Honey Glazed Tofu Stir-Fry with Broccoli

Serves: 4 Prep Time: 15 minutes Cooking Time: 15 minutes 15 minutes
Nutrition facts: 380 calories 20g fat
Rating: 5.0/5
( 1 voted )
Pin
Print

Ingredients

INGREDIENTS

  • 14 oz firm tofu, pressed and cubed
  • 2 cups broccoli florets
  • 1 bell pepper, sliced
  • 2 tablespoons vegetable oil
  • 2 cloves garlic, minced
  • 1 tablespoon grated ginger
  • 2 tablespoons soy sauce
  • 2 tablespoons honey
  • 2 tablespoons peanut butter
  • 1 tablespoon chili paste
  • Sesame seeds and chopped green onions for garnish

Instructions

  1. Heat vegetable oil in a large skillet or wok over medium-high heat.
  2. Add the pressed tofu cubes and fry until golden brown and crispy on all sides, about 8-10 minutes.
  3. Stir in the minced garlic and grated ginger, cooking for an additional minute until fragrant.
  4. Add the broccoli florets and sliced bell pepper to the skillet, cooking for another 3-4 minutes until the veggies are bright and tender-crisp.
  5. In a small bowl, whisk together soy sauce, honey, peanut butter, and chili paste until well combined.
  6. Pour the peanut butter glaze over the tofu and vegetables, stirring to coat evenly. Cook for another 2-3 minutes until heated through.
  7. Serve immediately, garnished with sesame seeds and chopped green onions. Enjoy!

Notes

Tip: For a nut-free version, use sunflower seed butter instead of peanut butter.

For the crispiest tofu, press it for at least 30 minutes before cooking to remove excess moisture. You can substitute honey with maple syrup for a vegan version of this dish.

If you love more heat, feel free to increase the amount of chili paste or add some sliced jalapeños to the stir-fry. Leftovers can be stored in an airtight container in the fridge for up to 3 days and can be reheated in a skillet or microwave.

July 26, 2026 0 comments
0 FacebookTwitterPinterestPocketEmail
Sweet and Tangy Pomegranate-Glazed Turkey Meatballs with Garlic Couscous
Healthy & Low-CalorieKid-FriendlyMain Dishes

Sweet and Tangy Pomegranate-Glazed Turkey Meatballs with Garlic Couscous

by Linda July 26, 2026
written by Linda

These Pomegranate-Glazed Turkey Meatballs are a perfect blend of sweet and savory, making them a hit for both family dinners and special occasions. The juicy turkey meatballs are coated in a glossy, tart pomegranate glaze that brings a burst of flavor.

Paired with fluffy garlic couscous, this dish not only satisfies the palate but also adds a touch of elegance to your table. The garlic couscous serves as a light yet hearty base, soaking up the juices from the meatballs and enhancing every bite.

Sweet and Tangy Pomegranate-Glazed Turkey Meatballs with Garlic Couscous

Sweet and Tangy Pomegranate-Glazed Turkey Meatballs with Garlic Couscous

Serves: 4 Prep Time: 15 minutes Cooking Time: 25 minutes 25 minutes
Nutrition facts: 350 calories 12g fat
Rating: 5.0/5
( 1 voted )
Pin
Print

Ingredients

INGREDIENTS

  • 1 lb ground turkey
  • 1/2 cup breadcrumbs
  • 1/4 cup grated Parmesan cheese
  • 1 egg
  • 2 cloves garlic, minced
  • 1 tsp onion powder
  • 1 tsp salt
  • 1/2 tsp black pepper
  • 1/4 cup fresh parsley, chopped
  • 1 cup pomegranate juice
  • 2 tbsp honey
  • 1 tbsp soy sauce
  • 1 cup couscous
  • 2 cups vegetable broth
  • 2 cloves garlic, minced
  • 1 tbsp olive oil
  • Salt and pepper to taste

Instructions

  1. Preheat oven to 400°F (200°C).
  2. In a large bowl, combine ground turkey, breadcrumbs, Parmesan cheese, egg, minced garlic, onion powder, salt, pepper, and parsley. Mix until well combined.
  3. Form the mixture into 1-inch meatballs and place them on a baking sheet lined with parchment paper.
  4. Bake the meatballs for 20 minutes or until cooked through and golden brown.
  5. While the meatballs are baking, prepare the pomegranate glaze. In a small saucepan, combine pomegranate juice, honey, and soy sauce. Bring to a simmer over medium heat and reduce for about 5-7 minutes until thickened.
  6. In a separate pot, heat olive oil over medium heat. Add minced garlic and sauté until fragrant, about 1 minute. Stir in couscous and toast for another minute.
  7. Pour in vegetable broth, bring to a boil, then cover and remove from heat. Let it sit for 5 minutes before fluffing with a fork.
  8. Once the meatballs are done, toss them in the pomegranate glaze until well coated.
  9. Serve the glazed meatballs over garlic couscous and garnish with extra parsley, if desired.

Notes

Tip: For an extra burst of flavor, add fresh pomegranate seeds on top before serving.

For a healthier twist, feel free to substitute ground turkey with ground chicken or even a plant-based meat alternative. If you want to reduce prep time, using pre-cooked couscous can save you some hassle.

To store leftovers, place the meatballs and couscous in an airtight container in the fridge for up to 3 days. Reheat in the microwave or on the stove until warmed through.

July 26, 2026 0 comments
0 FacebookTwitterPinterestPocketEmail
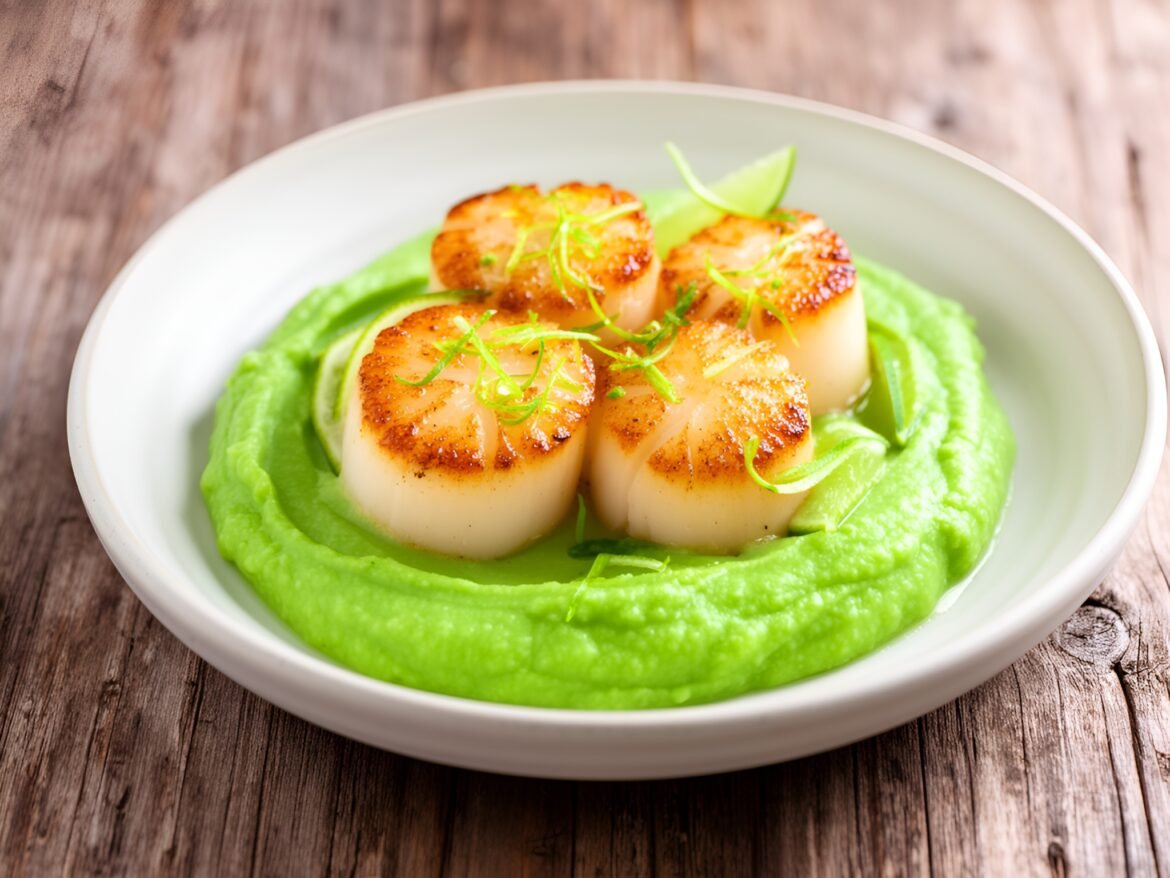
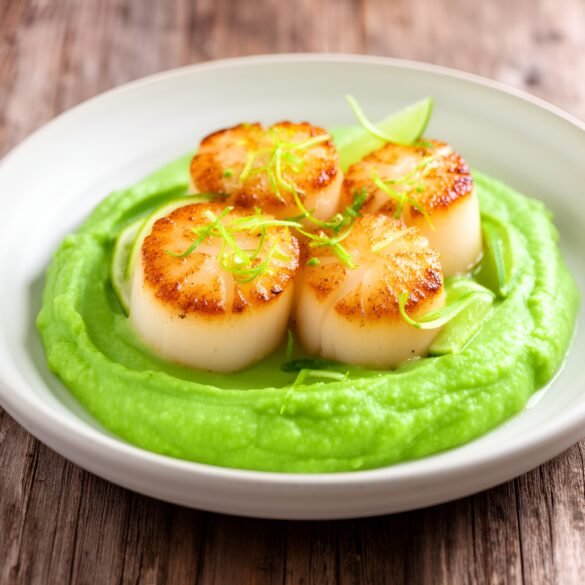
Zesty Coconut-Lime Scallops with Silky Sweet Pea Puree
Healthy & Low-CalorieMain DishesQuick & Easy (30-Min)

Zesty Coconut-Lime Scallops with Silky Sweet Pea Puree

by Linda July 26, 2026
written by Linda

These Zesty Coconut-Lime Scallops with Sweet Pea Puree offer a burst of tropical flavors that are simply irresistible. The combination of sweet, juicy scallops seared to perfection, paired with a creamy, vibrant pea puree, makes for an exquisite dish that’s perfect for a special occasion or a cozy evening at home.

The key to achieving a beautifully golden crust on your scallops is to ensure they are completely dry before searing. This technique not only enhances the texture but also allows the delightful coconut-lime marinade to shine through. With just a few simple ingredients, you’ll create a stunning dish that looks as good as it tastes.

Zesty Coconut-Lime Scallops with Silky Sweet Pea Puree

Zesty Coconut-Lime Scallops with Silky Sweet Pea Puree

Serves: 2 Prep Time: 15 minutes Cooking Time: 10 minutes 10 minutes
Nutrition facts: 350 calories 20g fat
Rating: 5.0/5
( 1 voted )
Pin
Print

Ingredients

INGREDIENTS

  • 8 large sea scallops
  • 1 tablespoon coconut oil
  • 1 lime (zested and juiced)
  • 1 tablespoon coconut milk
  • Salt and pepper to taste
  • 2 cups sweet peas (fresh or frozen)
  • 1 tablespoon olive oil
  • 1 clove garlic, minced
  • 1/4 teaspoon salt
  • 2 tablespoons heavy cream (optional)

Instructions

  1. Heat coconut oil in a skillet over medium-high heat until shimmering.
  2. Pat scallops dry with paper towels and season with salt and pepper on both sides.
  3. Add scallops to the skillet and sear for 2-3 minutes per side until golden brown and cooked through. Remove from heat and drizzle with lime juice.
  4. In a separate saucepan, combine sweet peas, olive oil, garlic, and salt. Cook over medium heat for about 5 minutes until peas are tender.
  5. Transfer the pea mixture to a blender or food processor, add coconut milk, and blend until smooth. If desired, stir in heavy cream for extra richness.
  6. To serve, spoon sweet pea puree onto plates, top with scallops, and garnish with lime zest. Enjoy immediately.

Notes

Tip: For a more intense coconut flavor, use full-fat coconut milk in the puree.

For the best results, choose fresh scallops instead of frozen ones, as they have a sweeter flavor and better texture. If you’re using frozen scallops, make sure to thaw them completely and pat them dry before cooking.

Feel free to customize the sweetness of the pea puree by adding a touch of honey or agave if desired. Additionally, this dish pairs beautifully with a light salad or some crusty bread to soak up the delicious puree.

Leftovers can be stored in an airtight container in the refrigerator for up to 2 days, but for the best flavor and texture, it’s recommended to enjoy them fresh.

July 26, 2026 0 comments
0 FacebookTwitterPinterestPocketEmail
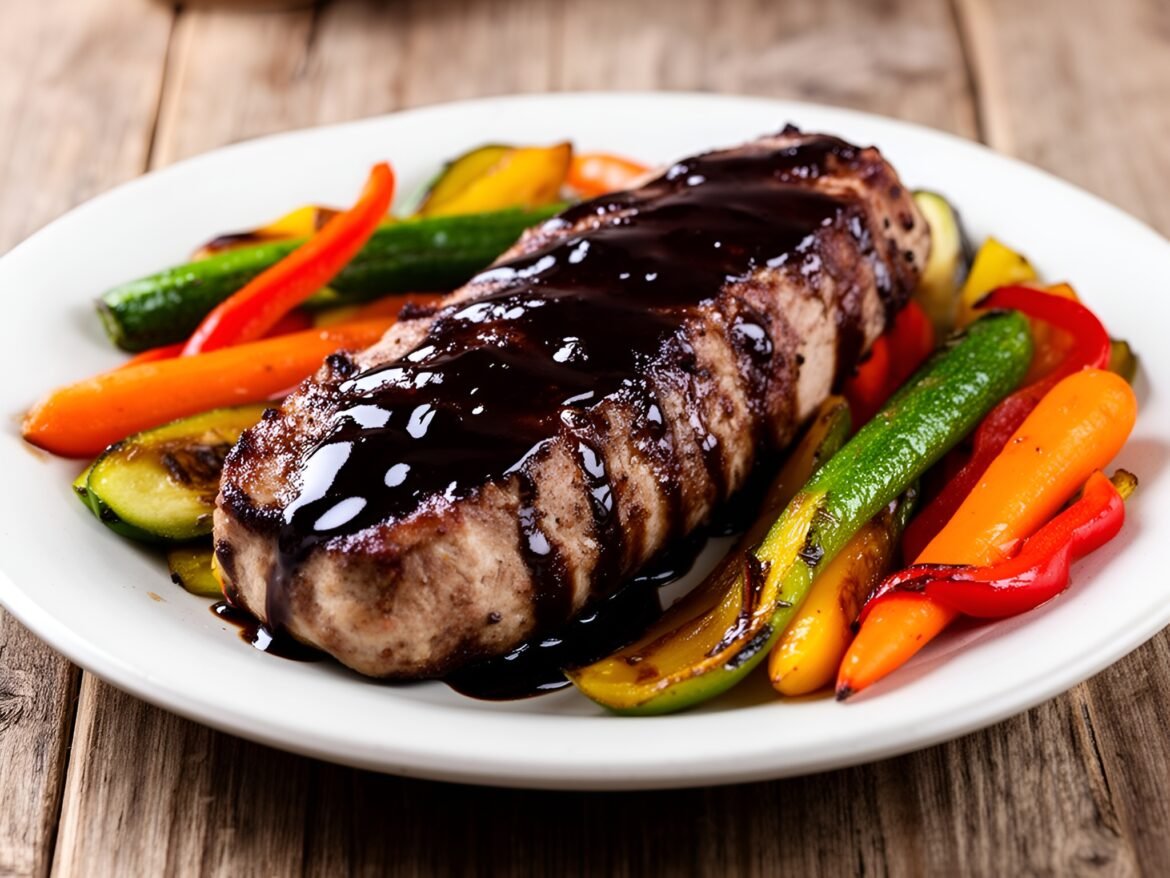
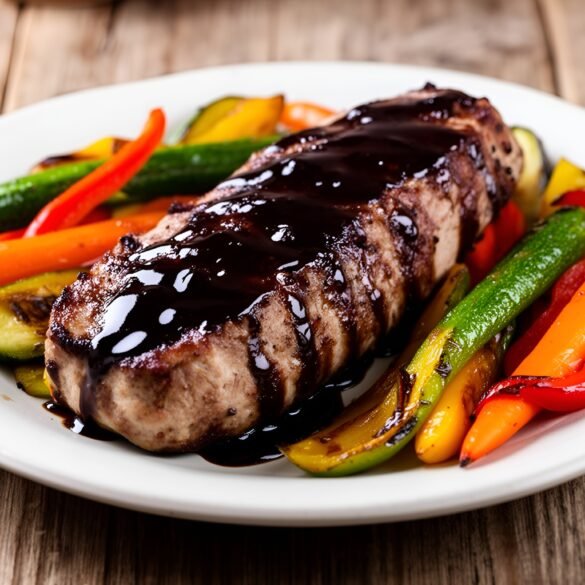
Savory Tangy Balsamic-Glazed Pork Tenderloin with Colorful Roasted Vegetables
Healthy & Low-CalorieMain DishesQuick & Easy (30-Min)

Savory Tangy Balsamic-Glazed Pork Tenderloin with Colorful Roasted Vegetables

by Linda July 26, 2026
written by Linda

Experience the perfect balance of sweetness and tang with this savory Balsamic-Glazed Pork Tenderloin recipe. The tenderloin is infused with a rich balsamic glaze that caramelizes beautifully in the oven, resulting in a mouthwatering dish that’s both elegant and simple to prepare.

Complementing the tender pork are a medley of roasted vegetables that not only add color to your plate but also enhance the dish with their natural sweetness. This recipe is ideal for a family dinner or entertaining guests, as it comes together effortlessly and showcases the wonderful flavors of the season.

Savory Tangy Balsamic-Glazed Pork Tenderloin with Colorful Roasted Vegetables

Savory Tangy Balsamic-Glazed Pork Tenderloin with Colorful Roasted Vegetables

Serves: 4 Prep Time: 15 minutes Cooking Time: 30 minutes 30 minutes
Nutrition facts: 320 calories 12g fat
Rating: 5.0/5
( 1 voted )
Pin
Print

Ingredients

INGREDIENTS

  • 1 lb pork tenderloin
  • 1/2 cup balsamic vinegar
  • 1/4 cup honey
  • 2 tbsp olive oil
  • 2 cloves garlic, minced
  • 1 tsp dried rosemary
  • Salt and pepper to taste
  • 2 cups mixed vegetables (such as bell peppers, zucchini, and carrots)

Instructions

  1. Preheat the oven to 400°F (200°C).
  2. In a small bowl, whisk together the balsamic vinegar, honey, olive oil, minced garlic, rosemary, salt, and pepper.
  3. Place the pork tenderloin in a shallow dish and pour the marinade over it, making sure to coat evenly. Let it marinate for at least 30 minutes.
  4. While the pork is marinating, chop the mixed vegetables into bite-sized pieces and spread them on a baking sheet.
  5. Drizzle the vegetables with olive oil and season with salt and pepper, tossing to coat.
  6. Remove the pork from the marinade and place it on the baking sheet with the vegetables, reserving the remaining marinade.
  7. Bake in the preheated oven for 25-30 minutes, or until the pork reaches an internal temperature of 145°F (63°C).
  8. During the last 5 minutes of cooking, brush the pork with the reserved marinade.
  9. Once cooked, let the pork rest for 5 minutes before slicing. Serve alongside the roasted vegetables.

Notes

Tip: For extra flavor, you can add fresh herbs like thyme or parsley to the marinade. Leftovers can be stored in the fridge for up to 3 days.

For the best results, allow the pork to marinate in the balsamic glaze for at least 30 minutes before cooking to enhance the flavor. If you’re short on time, a quick 10-minute marinade will still yield delicious results.

Feel free to customize the roasted vegetables based on your preferences or what’s in season. Carrots, bell peppers, and zucchini work beautifully with this dish. Store any leftovers in an airtight container in the refrigerator for up to 3 days; simply reheat in the oven for the best texture.

July 26, 2026 0 comments
0 FacebookTwitterPinterestPocketEmail
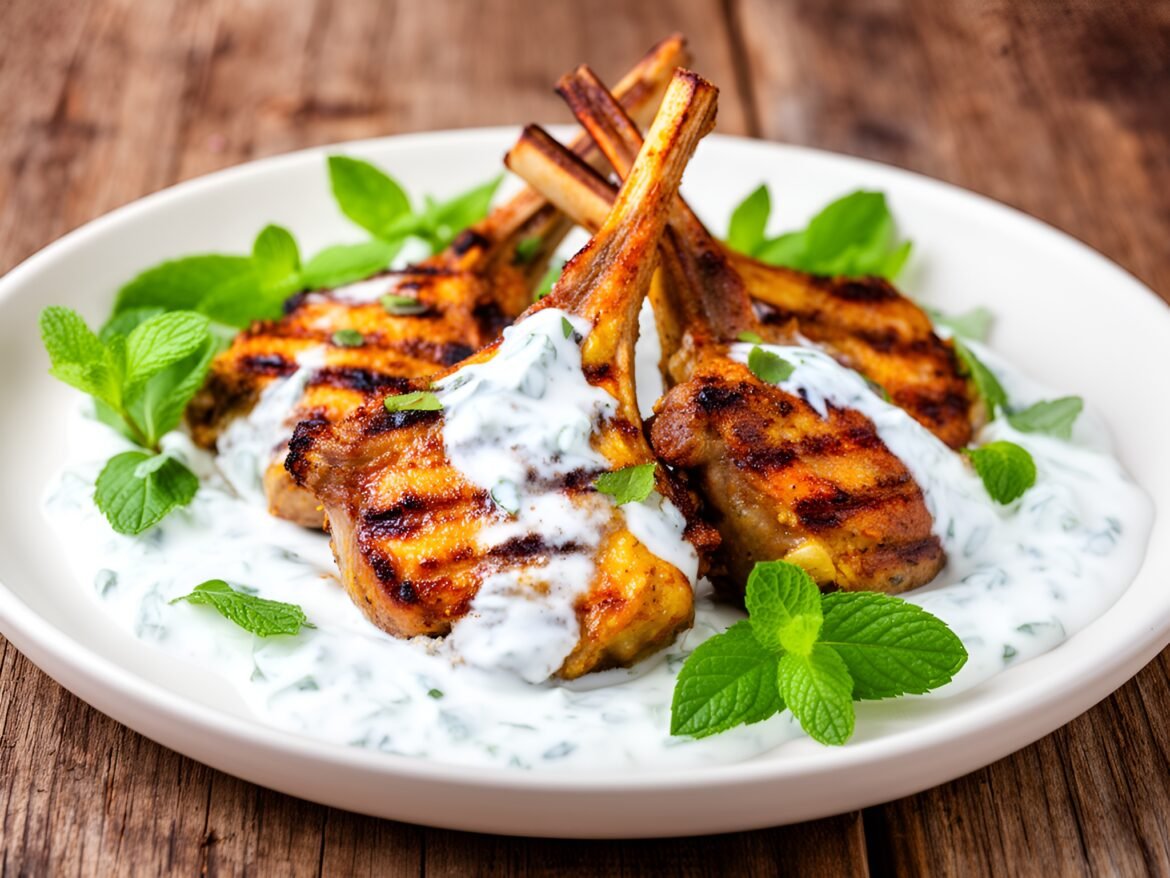
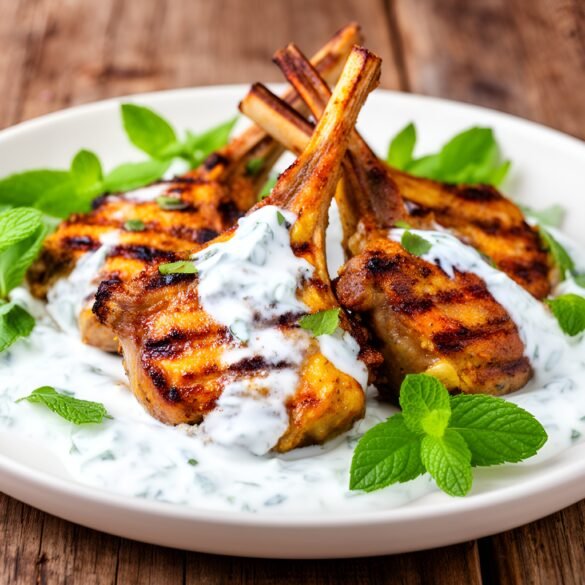
Sizzling Moroccan Lamb Chops with Fresh Mint Yogurt Sauce
Kid-FriendlyMain DishesQuick & Easy (30-Min)

Sizzling Moroccan Lamb Chops with Fresh Mint Yogurt Sauce

by Linda July 26, 2026
written by Linda

These Moroccan-Spiced Lamb Chops are a feast for the senses, bringing together bold spices and tender meat for an unforgettable dish. The aromatic blend of cumin, coriander, and cinnamon creates a fragrant crust, while the juicy lamb stays succulent and flavorful. Pair it with a cool, creamy minted yogurt sauce that adds a refreshing contrast to the savory spices.

Perfect for a special occasion or a cozy dinner at home, this recipe is as simple as it is delicious. The vibrant flavors are sure to impress your guests and leave them wanting more!

Sizzling Moroccan Lamb Chops with Fresh Mint Yogurt Sauce

Sizzling Moroccan Lamb Chops with Fresh Mint Yogurt Sauce

Serves: 4 Prep Time: 15 minutes Cooking Time: 20 minutes 20 minutes
Nutrition facts: 350 calories 22g fat
Rating: 5.0/5
( 1 voted )
Pin
Print

Ingredients

INGREDIENTS

  • 4 lamb chops
  • 2 teaspoons ground cumin
  • 2 teaspoons ground coriander
  • 1 teaspoon ground cinnamon
  • 1 teaspoon paprika
  • Salt and black pepper to taste
  • 2 tablespoons olive oil
  • For the Minted Yogurt Sauce:
  • 1 cup plain yogurt
  • 1/2 cup fresh mint leaves, finely chopped
  • 1 tablespoon lemon juice
  • 1 garlic clove, minced
  • Salt to taste

Instructions

  1. In a small bowl, mix together the cumin, coriander, cinnamon, paprika, salt, and pepper.
  2. Rub the spice mixture all over the lamb chops, ensuring they are well coated.
  3. Drizzle olive oil over the lamb chops and let them marinate for at least 30 minutes at room temperature, or up to overnight in the refrigerator.
  4. While the lamb is marinating, prepare the minted yogurt sauce by combining yogurt, chopped mint, lemon juice, garlic, and salt in a bowl. Mix well and set aside.
  5. Preheat your grill or skillet over medium-high heat. Cook the lamb chops for about 4-5 minutes on each side for medium-rare, depending on thickness.
  6. Once cooked to your desired doneness, remove the lamb chops from heat and let them rest for a few minutes.
  7. Serve the lamb chops hot, drizzled with the minted yogurt sauce. Garnish with additional mint leaves if desired.

Notes

Tip: For a spicier kick, add a pinch of cayenne pepper to the spice mix.

For the best flavor, marinate the lamb chops for at least 2 hours or overnight if you can. This allows the spices to penetrate the meat deeply.

If you don’t have lamb chops, you can use a leg of lamb or even chicken thighs, adjusting the cooking time accordingly. Store any leftover yogurt sauce in the refrigerator for up to three days; it pairs beautifully with grilled vegetables or as a dip for pita bread.

July 26, 2026 0 comments
0 FacebookTwitterPinterestPocketEmail
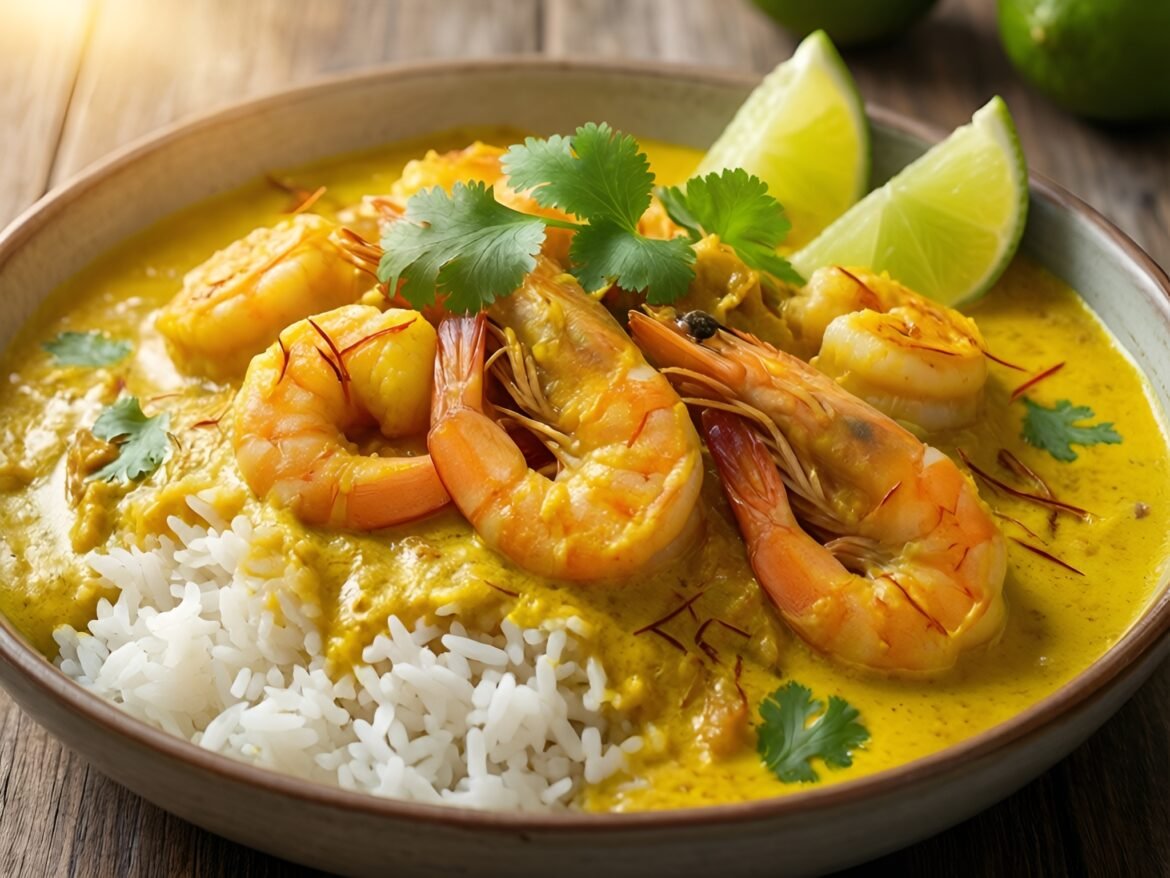
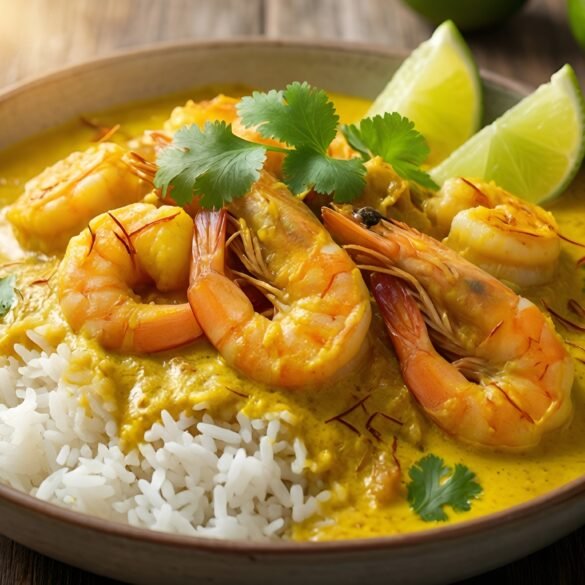
Saffron Infused Coconut Shrimp Curry with Jasmine Rice
Gluten-FreeMain DishesQuick & Easy (30-Min)

Saffron Infused Coconut Shrimp Curry with Jasmine Rice

by Linda July 26, 2026
written by Linda

Discover a culinary delight with this Saffron Infused Coconut Shrimp Curry, a dish that perfectly balances the sweetness of coconut with the delicate floral notes of saffron. The shrimp is cooked to perfection in a luscious coconut sauce, making it a standout meal for any occasion.

This curry is not only rich in flavor but also simple to prepare, bringing the exotic tastes of tropical cuisine to your kitchen. Pairing it with fluffy jasmine rice creates a harmonious plate that is sure to impress your family and friends.

Saffron Infused Coconut Shrimp Curry with Jasmine Rice

Saffron Infused Coconut Shrimp Curry with Jasmine Rice

Serves: 4 Prep Time: 15 minutes Cooking Time: 25 minutes 25 minutes
Nutrition facts: 550 calories 26g fat
Rating: 5.0/5
( 1 voted )
Pin
Print

Ingredients

INGREDIENTS

  • 1 lb large shrimp, peeled and deveined
  • 1 can (14 oz) coconut milk
  • 1/2 tsp saffron threads
  • 1 onion, finely chopped
  • 2 cloves garlic, minced
  • 1-inch piece ginger, grated
  • 1 tbsp curry powder
  • 1 tbsp fish sauce (or soy sauce for a vegetarian option)
  • 1 tbsp lime juice
  • 1 tbsp olive oil
  • Salt and pepper to taste
  • 2 cups jasmine rice
  • 2 1/2 cups water
  • Fresh cilantro, for garnish
  • Lime wedges, for serving

Instructions

  1. Soak saffron threads in 2 tablespoons of warm water for 10 minutes.
  2. In a pan, heat olive oil over medium heat and sauté the chopped onion until translucent.
  3. Add garlic and ginger, cooking until fragrant, about 1 minute.
  4. Stir in curry powder and cook for an additional minute, then pour in the coconut milk, saffron water, fish sauce, and lime juice; bring to a simmer.
  5. Add the shrimp to the sauce and cook until they turn pink, about 5-7 minutes. Season with salt and pepper to taste.
  6. While the shrimp cooks, rinse jasmine rice under cold water until the water runs clear.
  7. In a separate pot, combine rinsed rice and 2 1/2 cups of water; bring to a boil. Reduce heat, cover, and simmer for 15 minutes or until rice is fluffy and water is absorbed.
  8. Serve the shrimp curry over jasmine rice, garnished with fresh cilantro and lime wedges. Enjoy!

Notes

Tip: For a vegetarian alternative, substitute shrimp with firm tofu or chickpeas and ensure the fish sauce is replaced with soy sauce.

For a spicier kick, add chopped green chilies or a dash of cayenne pepper to the curry. You can also substitute the shrimp with fish or tofu for a vegetarian version.

If you have leftovers, store the curry in an airtight container in the refrigerator for up to 3 days. Reheat gently on the stove, adding a splash of coconut milk to restore creaminess.

July 26, 2026 0 comments
0 FacebookTwitterPinterestPocketEmail
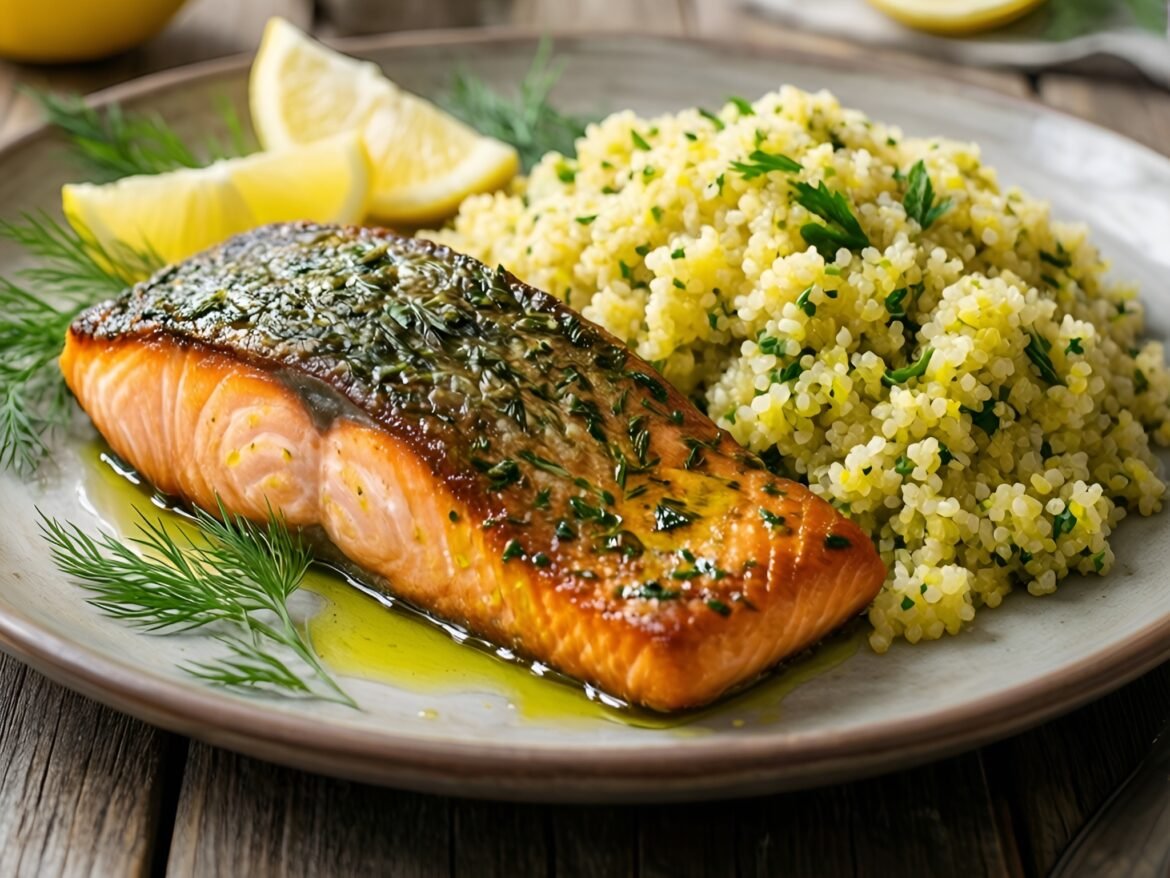
Herb-Crusted Salmon with Lemon-Dill Quinoa Pilaf
Healthy & Low-CalorieMain Dishes

Herb-Crusted Salmon with Lemon-Dill Quinoa Pilaf

by Linda July 26, 2026
written by Linda

Indulge in this delectable herb-crusted salmon topped with a vibrant mixture of fresh herbs and breadcrumbs. The crispy exterior perfectly contrasts the tender, flaky salmon inside, making it a dish you’ll love to share or savor alone.

Paired with a zesty lemon-dill quinoa pilaf, this meal is not only easy to prepare but also packed with nutrients. Lemon and dill elevate the quinoa, creating a refreshing side that complements the rich flavors of the salmon beautifully.

Herb-Crusted Salmon with Lemon-Dill Quinoa Pilaf

Herb-Crusted Salmon with Lemon-Dill Quinoa Pilaf

Serves: 4 Prep Time: 15 minutes Cooking Time: 20 minutes 20 minutes
Nutrition facts: 350 calories 15g fat
Rating: 5.0/5
( 1 voted )
Pin
Print

Ingredients

INGREDIENTS

  • 4 salmon fillets
  • 1 cup quinoa
  • 2 cups vegetable broth
  • 1 lemon (zested and juiced)
  • 2 tablespoons fresh dill, chopped
  • 2 tablespoons fresh parsley, chopped
  • 1 cup panko breadcrumbs
  • 2 tablespoons olive oil
  • Salt and pepper to taste

Instructions

  1. Preheat the oven to 400°F (200°C).
  2. Rinse the quinoa under cold water, then combine it with vegetable broth in a saucepan. Bring to a boil, then reduce heat and simmer for about 15 minutes until liquid is absorbed. Fluff with a fork and stir in lemon zest, lemon juice, dill, and parsley.
  3. In a small bowl, mix panko breadcrumbs with olive oil, salt, and pepper until well coated.
  4. Place salmon fillets on a baking sheet lined with parchment paper. Top each fillet with the panko mixture, pressing down lightly to adhere.
  5. Bake the salmon for 12-15 minutes, or until the crust is golden and the salmon is cooked through.
  6. Serve the herb-crusted salmon over a bed of lemon-dill quinoa pilaf, garnished with additional fresh herbs if desired.

Notes

Tip: For a spicier kick, add a pinch of red pepper flakes to the breadcrumb mixture.

Be sure to let your salmon come to room temperature before cooking, as this ensures even cooking throughout. If you prefer, you can substitute the quinoa with couscous or any grain of your choice for a different texture.

For meal prep, store the salmon and quinoa separately in airtight containers. Reheat the salmon in the oven to retain its crispiness, and warm the quinoa on the stovetop or in the microwave.

July 26, 2026 0 comments
0 FacebookTwitterPinterestPocketEmail
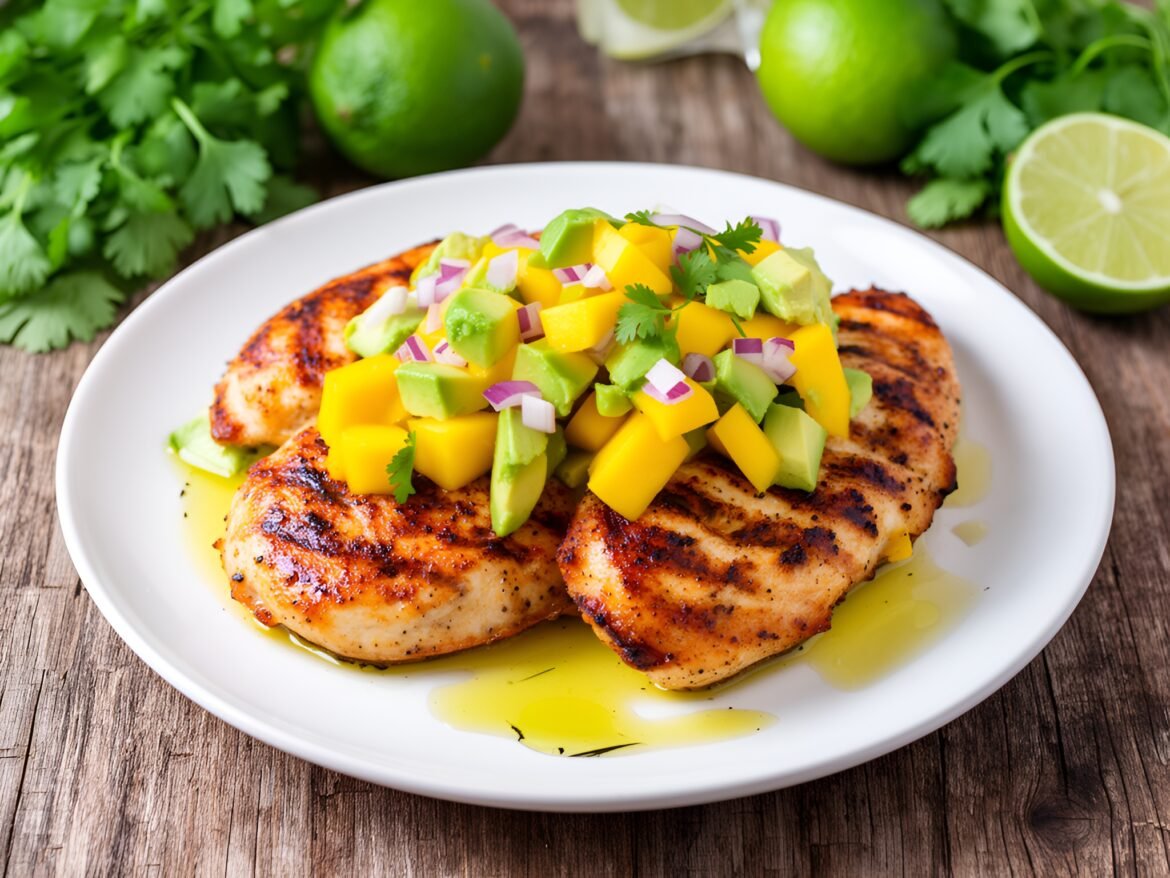
Chipotle Lime Grilled Chicken with Fresh Mango-Avocado Salsa
Healthy & Low-CalorieMain DishesQuick & Easy (30-Min)

Chipotle Lime Grilled Chicken with Fresh Mango-Avocado Salsa

by Linda July 26, 2026
written by Linda

Experience the perfect fusion of smoky and fresh flavors with this Chipotle Lime Grilled Chicken topped with a zesty mango-avocado salsa. The marinated chicken is grilled to perfection, boasting a charred exterior and juicy interior, while the salsa adds a refreshing contrast that brightens each bite.

This dish is not only a crowd-pleaser but also quick and easy to prepare, making it an ideal choice for weeknight dinners or summer barbecues. The combination of chipotle spices and lime juice elevates the chicken, while the salsa brings in sweetness and creaminess, harmonizing beautifully on the plate.

Chipotle Lime Grilled Chicken with Fresh Mango-Avocado Salsa

Chipotle Lime Grilled Chicken with Fresh Mango-Avocado Salsa

Serves: 4 Prep Time: 15 minutes Cooking Time: 20 minutes 20 minutes
Nutrition facts: 350 calories 18g fat
Rating: 5.0/5
( 1 voted )
Pin
Print

Ingredients

INGREDIENTS

  • 4 boneless, skinless chicken breasts
  • 2 tablespoons olive oil
  • Juice of 2 limes
  • 1 teaspoon chipotle powder
  • 1 teaspoon garlic powder
  • Salt and pepper to taste
  • 1 ripe mango, diced
  • 1 avocado, diced
  • 1/4 cup red onion, finely chopped
  • 1/4 cup fresh cilantro, chopped
  • Juice of 1 lime (for salsa)

Instructions

  1. In a bowl, whisk together olive oil, lime juice, chipotle powder, garlic powder, salt, and pepper.
  2. Add the chicken breasts to the marinade, ensuring they are well-coated. Let marinate for at least 30 minutes.
  3. Preheat the grill to medium-high heat.
  4. Remove the chicken from the marinade and place on the grill. Cook for 6-7 minutes on each side, or until fully cooked and internal temperature reaches 165°F.
  5. While the chicken is grilling, combine the diced mango, avocado, red onion, cilantro, and lime juice in a bowl. Gently toss to mix.
  6. Once the chicken is cooked, remove it from the grill and let it rest for a few minutes before slicing.
  7. Serve the grilled chicken topped with the mango-avocado salsa.

Notes

For added flavor, consider grilling the mango and avocado for a few minutes to enhance their sweetness.

For the best flavor, marinate the chicken for at least 30 minutes (or even overnight) to allow the spices to penetrate. If you’re short on time, a quick 15-minute marinade will still impart great taste. Don’t hesitate to adjust the chipotle powder to your spice preference!

Feel free to customize the salsa by adding ingredients such as red onion or cilantro for an extra kick. Leftover chicken can be stored in the fridge for 3-4 days and is delicious in salads or wraps.

July 26, 2026 0 comments
0 FacebookTwitterPinterestPocketEmail
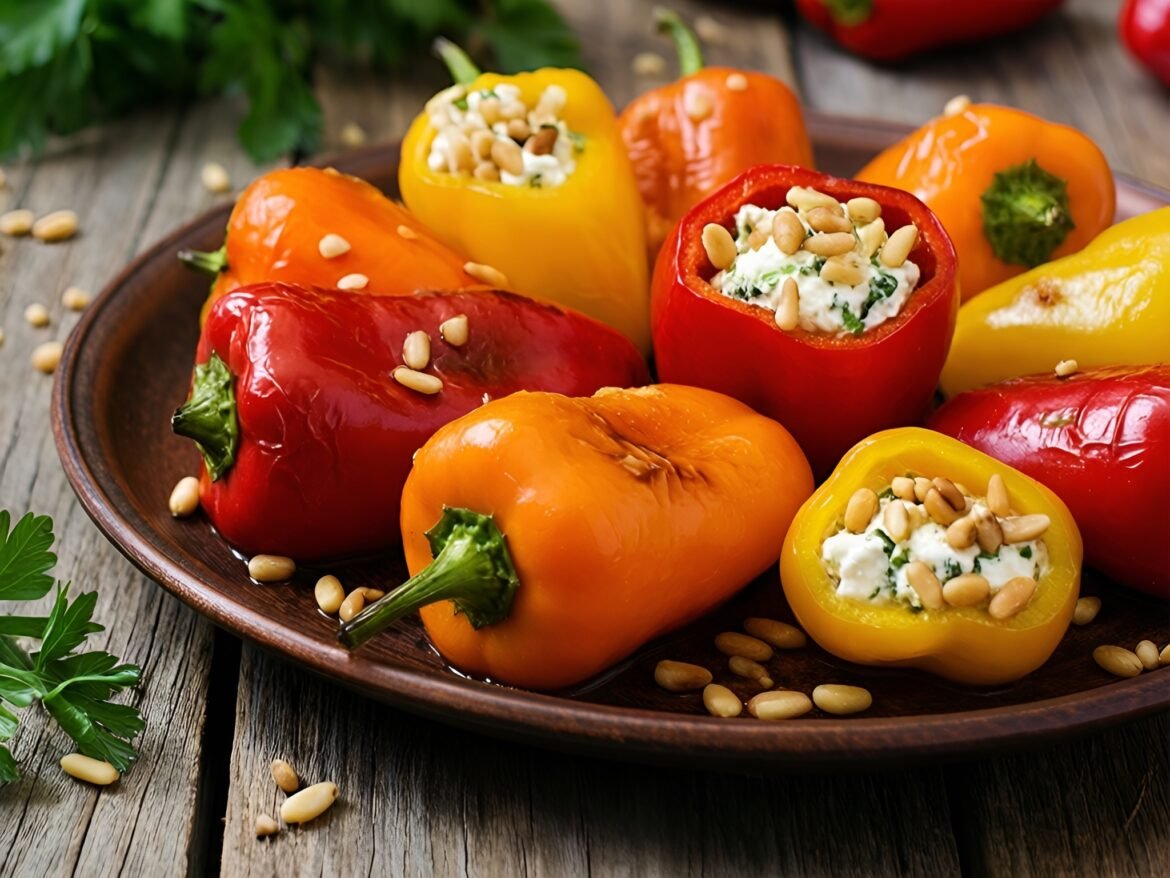
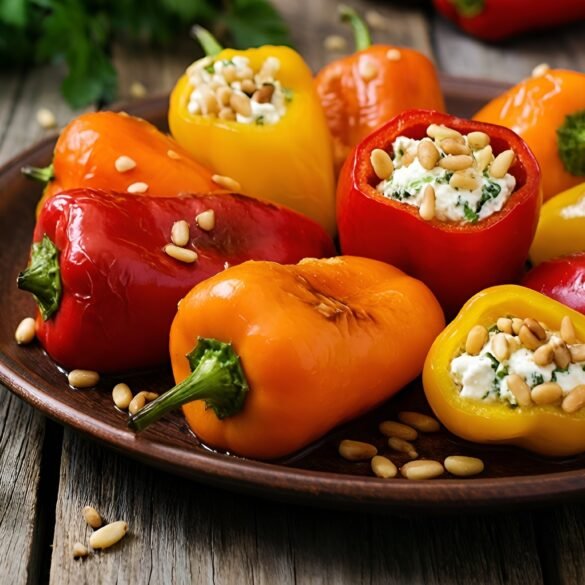
Mediterranean Stuffed Mini Peppers with Feta and Pine Nuts
Appetizers & SnacksGluten-FreeQuick & Easy (30-Min)Vegetarian

Mediterranean Stuffed Mini Peppers with Feta and Pine Nuts

by Linda July 26, 2026
written by Linda

These Mediterranean Stuffed Mini Peppers are a delightful treat that packs vibrant colors and flavors into each bite. The combination of creamy feta cheese and crunchy pine nuts creates a satisfying contrast that complements the sweetness of the peppers beautifully.

Perfect for parties or as a light snack, these stuffed peppers are easy to make and can be served warm or at room temperature. The addition of fresh herbs gives them an aromatic touch that will transport your taste buds straight to the Mediterranean coast.

Mediterranean Stuffed Mini Peppers with Feta and Pine Nuts

Mediterranean Stuffed Mini Peppers with Feta and Pine Nuts

Serves: 4-6 Prep Time: 15 minutes Cooking Time: 20 minutes 20 minutes
Nutrition facts: 150 calories 10g fat
Rating: 5.0/5
( 1 voted )
Pin
Print

Ingredients

INGREDIENTS

  • 12 mini sweet peppers
  • 1 cup crumbled feta cheese
  • 1/4 cup pine nuts, toasted
  • 2 tablespoons fresh parsley, chopped
  • 1 tablespoon fresh oregano, chopped
  • 1 tablespoon olive oil
  • Salt and black pepper to taste

Instructions

  1. Preheat your oven to 375°F (190°C).
  2. Cut the mini sweet peppers in half lengthwise and remove the seeds.
  3. In a mixing bowl, combine the crumbled feta, toasted pine nuts, parsley, oregano, olive oil, salt, and black pepper. Mix well until all ingredients are evenly incorporated.
  4. Stuff each mini pepper half with the feta mixture, pressing gently to pack it in.
  5. Arrange the stuffed peppers on a baking sheet lined with parchment paper.
  6. Bake in the preheated oven for 15-20 minutes, or until the peppers are tender and the tops are slightly golden.
  7. Remove from the oven and let cool for a few minutes before serving. Enjoy warm or at room temperature.

Notes

Tip: Toast pine nuts in a dry skillet over medium heat for a few minutes until golden to enhance their flavor.

For a twist, try adding sun-dried tomatoes or olives into the stuffing mixture. If you’re looking for a vegan option, substitute the feta with a plant-based cheese alternative.

To store leftovers, place them in an airtight container in the refrigerator for up to three days. Reheat them in the oven to retain their texture before serving.

July 26, 2026 0 comments
0 FacebookTwitterPinterestPocketEmail
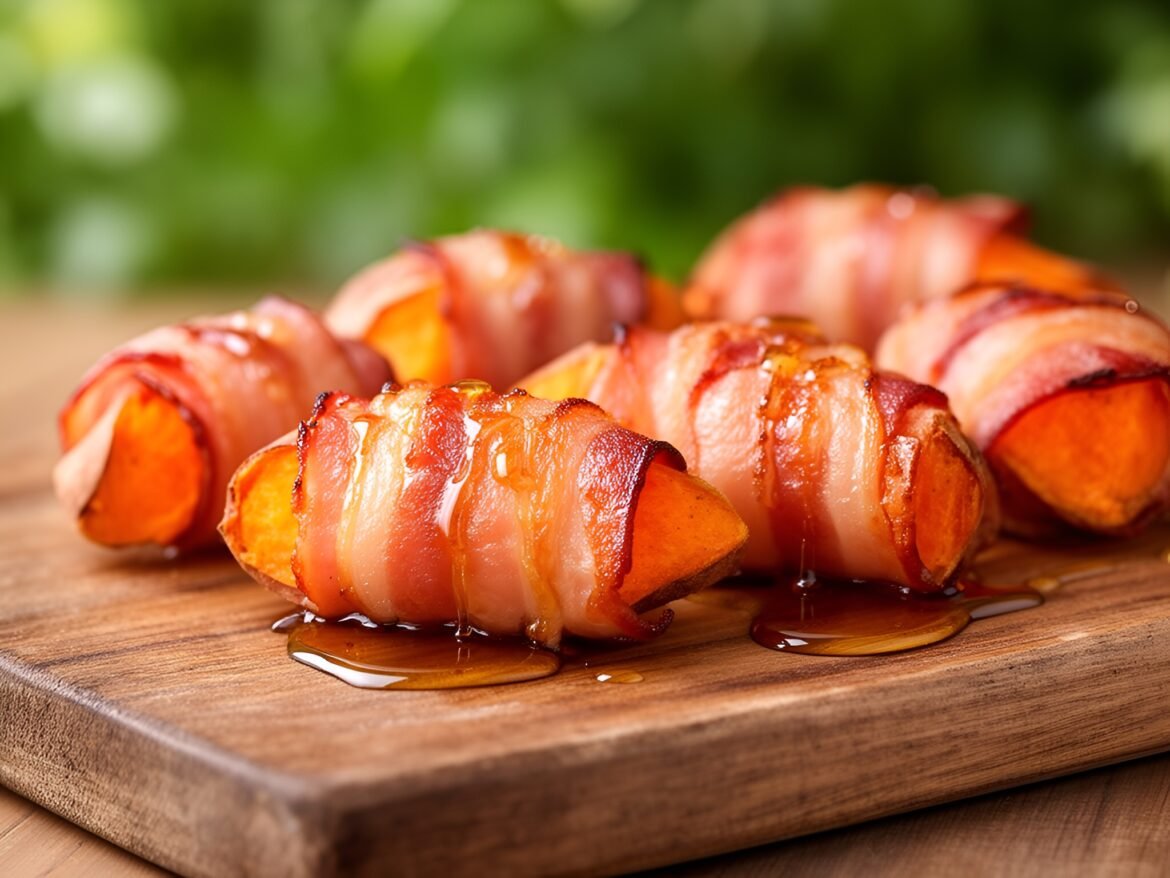
Savory Bacon-Wrapped Sweet Potato Bites with Maple Drizzle
Appetizers & SnacksKid-FriendlyQuick & Easy (30-Min)

Savory Bacon-Wrapped Sweet Potato Bites with Maple Drizzle

by Linda July 26, 2026
written by Linda

These Savory Bacon-Wrapped Sweet Potato Bites are the ultimate appetizer that combines the sweetness of roasted sweet potatoes with the salty crunch of bacon. Each bite is a delightful explosion of flavor, making them perfect for parties or a cozy night in.

Wrapped in crispy bacon and finished with a drizzle of maple syrup, these bites are not only easy to make but also provide a wonderful contrast of savory and sweet. Perfect for sharing, they are sure to impress any crowd!

Savory Bacon-Wrapped Sweet Potato Bites with Maple Drizzle

Savory Bacon-Wrapped Sweet Potato Bites with Maple Drizzle

Serves: 4-6 Prep Time: 15 minutes Cooking Time: 25 minutes 25 minutes
Nutrition facts: 180 calories 10g fat
Rating: 5.0/5
( 1 voted )
Pin
Print

Ingredients

INGREDIENTS

  • 2 medium sweet potatoes, peeled and cut into bite-sized cubes
  • 8 slices of bacon, cut in half
  • 1/4 cup maple syrup
  • 1/2 teaspoon salt
  • 1/4 teaspoon black pepper
  • 1/2 teaspoon smoked paprika

Instructions

  1. Preheat your oven to 400°F (200°C).
  2. Line a baking sheet with parchment paper or a silicone baking mat.
  3. In a large bowl, toss the sweet potato cubes with salt, black pepper, and smoked paprika until evenly coated.
  4. Wrap each sweet potato cube with a half slice of bacon, securing it with a toothpick if necessary, and place them on the prepared baking sheet.
  5. Bake in the preheated oven for 20-25 minutes, or until the bacon is crispy and the sweet potatoes are tender.
  6. Remove from the oven and drizzle the bacon-wrapped sweet potatoes with maple syrup before serving. Enjoy!

Notes

Tip: For an extra flavor boost, marinate sweet potato cubes in olive oil and spices for 30 minutes before wrapping them with bacon.

To ensure the bacon crisps perfectly, use thin slices of bacon and avoid overlapping them too much on the sweet potatoes. If you like a little heat, consider sprinkling some cayenne pepper or chili flakes on top before baking.

These bites can be made ahead of time and stored in the refrigerator. Reheat them in the oven for a few minutes to regain their crispiness. Enjoy them warm for the best flavor!

July 26, 2026 0 comments
0 FacebookTwitterPinterestPocketEmail
Newer Posts
Older Posts

Recent Posts

  • Vibrant Crunchy Rainbow Quinoa Salad with Zesty Cilantro-Lime Dressing

    November 6, 2026
  • Spicy Curried Butternut Squash Soup with Crunchy Pepitas

    November 6, 2026
  • Sweet and Savory Teriyaki Salmon with Sesame-Infused Bok Choy

    November 6, 2026
  • Robust Chorizo and Creamy White Bean Casserole

    November 6, 2026
  • Lime-Infused Coconut Grilled Chicken with Fresh Pineapple Salsa

    November 6, 2026

About Me

About Me

I'm Linda, a health professional, university graduate, and author sharing tested, easy-to-follow recipes made from simple, everyday ingredients. Based in Finland, I bring together my culinary training, love of travel, and home-cooked roots to help you cook confidently, on any budget.

Products

  • Spooky Creative Starry Sky Ceramic Mug Spooky Creative Starry Sky Ceramic Mug 10,00 €

Categories

  • Appetizers & Snacks (349)
  • Breakfast & Brunch (288)
  • Desserts & Baking (362)
  • Drinks & Beverages (284)
  • Gluten-Free (441)
  • Grilling & BBQ (12)
  • Healthy & Low-Calorie (392)
  • Holiday & Seasonal (37)
  • Kid-Friendly (507)
  • Main Dishes (380)
  • Quick & Easy (30-Min) (1,529)
  • Slow Cooker & Instant Pot (4)
  • Soups & Salads (227)
  • Vegan (376)
  • Vegetarian (1,224)

About Me

I'm Linda, a health professional and food writer sharing tested, easy-to-follow recipes made from simple ingredients.

Email: jspiceygiftstv@gmail.com

Useful Links

  • Home
  • About
  • Contact
  • Free Cookbooks
  • Terms and Conditions
  • Privacy Policy

Newsletter

Subscribe to to our Newsletter to stay updated with all our recipes.

Recent Posts

  • Vibrant Crunchy Rainbow Quinoa Salad with Zesty Cilantro-Lime Dressing

    November 6, 2026
  • Spicy Curried Butternut Squash Soup with Crunchy Pepitas

    November 6, 2026
  • Instagram
  • Pinterest
  • Youtube
  • Tiktok

@2026 - All Right Reserved. Designed and Developed by JSpiceyGifts

J Spicey Gifts
  • Home
  • Recipes
    • Breakfast & Brunch
    • Appetizers & Snacks
    • Main Dishes
    • Soups & Salads
    • Desserts & Baking
    • Drinks & Beverages
  • Categories
    • Vegetarian
    • Vegan
    • Gluten-Free
    • Quick & Easy (30-Min)
    • Slow Cooker & Instant Pot
    • Grilling & BBQ
    • Healthy & Low-Calorie
    • Holiday & Seasonal
    • Kid-Friendly
  • About
  • Contact

Shopping Cart

Close

No products in the cart.

Close