J Spicey Gifts
  • Home
  • Recipes
    • Breakfast & Brunch
    • Appetizers & Snacks
    • Main Dishes
    • Soups & Salads
    • Desserts & Baking
    • Drinks & Beverages
  • Categories
    • Vegetarian
    • Vegan
    • Gluten-Free
    • Quick & Easy (30-Min)
    • Slow Cooker & Instant Pot
    • Grilling & BBQ
    • Healthy & Low-Calorie
    • Holiday & Seasonal
    • Kid-Friendly
  • About
  • Contact
Top Posts
Vibrant Sunrise Quinoa Power Bowls with Homemade Berry...
Decadent Cinnamon Swirl Banana Crumb Bake
Refreshing Lavender Citrus Sparkling Elixir for Summer Sips
Refreshing Cucumber Mint Cooler for Hot Days
Delightfully Decadent Toasted Almond Joy Cheesecake Bites
Raspberry Lemonade Tart with Meringue Clouds
Choco-Coconut Whirlwind Cookies
Elegant Saffron-Infused Vanilla Chiffon Cake
Caramelized Banana Pecan Bliss Bars
Fresh Strawberry Spinach Salad with Creamy Poppyseed Dressing
J Spicey Gifts
  • Home
  • Recipes
    • Breakfast & Brunch
    • Appetizers & Snacks
    • Main Dishes
    • Soups & Salads
    • Desserts & Baking
    • Drinks & Beverages
  • Categories
    • Vegetarian
    • Vegan
    • Gluten-Free
    • Quick & Easy (30-Min)
    • Slow Cooker & Instant Pot
    • Grilling & BBQ
    • Healthy & Low-Calorie
    • Holiday & Seasonal
    • Kid-Friendly
  • About
  • Contact
J Spicey Gifts
J Spicey Gifts
  • Home
  • Recipes
    • Breakfast & Brunch
    • Appetizers & Snacks
    • Main Dishes
    • Soups & Salads
    • Desserts & Baking
    • Drinks & Beverages
  • Categories
    • Vegetarian
    • Vegan
    • Gluten-Free
    • Quick & Easy (30-Min)
    • Slow Cooker & Instant Pot
    • Grilling & BBQ
    • Healthy & Low-Calorie
    • Holiday & Seasonal
    • Kid-Friendly
  • About
  • Contact
Copyright 2021 - All Right Reserved
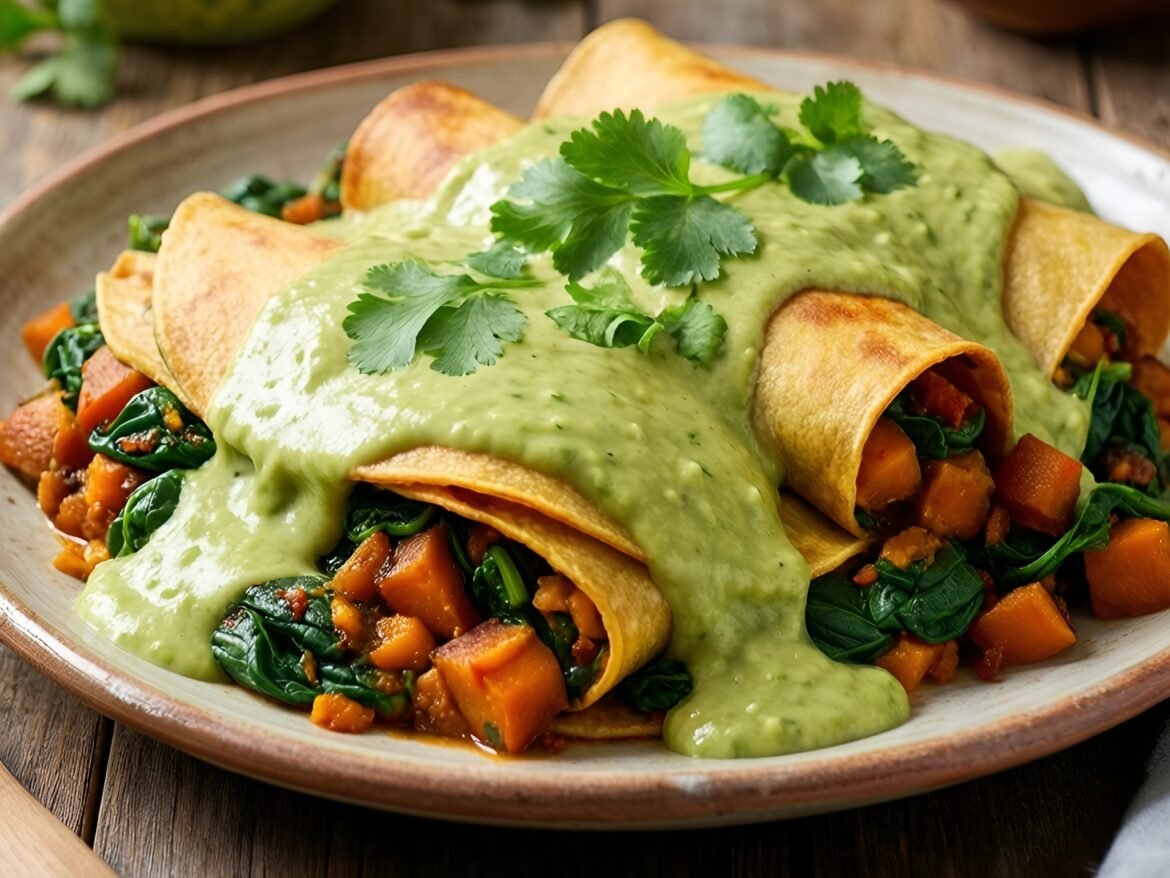
Spiced Sweet Potato and Spinach Enchiladas with Avocado Cream
Gluten-FreeMain Dishes

Spiced Sweet Potato and Spinach Enchiladas with Avocado Cream

by Linda August 4, 2026
written by Linda

These Spiced Sweet Potato and Spinach Enchiladas are a vibrant twist on a classic dish, perfect for a comforting dinner. The creamy avocado sauce elevates the flavors, while the combination of sweet potatoes and spinach provides an excellent balance of nutrients and taste.

Utilizing gluten-free tortillas, this recipe accommodates those with dietary restrictions without sacrificing flavor. The sweet potatoes are seasoned with warm spices that complement the freshness of the spinach, making each bite a delightful experience.
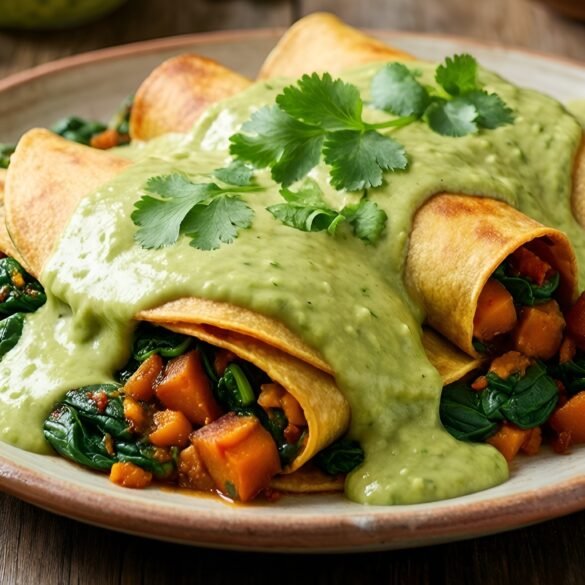
Spiced Sweet Potato and Spinach Enchiladas with Avocado Cream

Spiced Sweet Potato and Spinach Enchiladas with Avocado Cream

Serves: 4 Prep Time: 20 minutes Cooking Time: 30 minutes 30 minutes
Nutrition facts: 320 calories 12g fat
Rating: 5.0/5
( 1 voted )
Pin
Print

Ingredients

INGREDIENTS

  • 4 gluten-free tortillas
  • 2 medium sweet potatoes, peeled and diced
  • 2 cups fresh spinach, chopped
  • 1 teaspoon ground cumin
  • 1 teaspoon smoked paprika
  • Salt and pepper to taste
  • 1 avocado
  • 1/2 cup sour cream or Greek yogurt (or dairy-free alternative)
  • 1 tablespoon lime juice
  • 1 cup shredded cheese (optional; use a dairy-free cheese for a vegan option)
  • 1 cup enchilada sauce

Instructions

  1. Preheat the oven to 375°F (190°C).
  2. In a large pot, boil the diced sweet potatoes until tender, about 10-12 minutes. Drain and mash them in a bowl.
  3. Add chopped spinach, cumin, smoked paprika, salt, and pepper to the sweet potatoes. Stir until well combined.
  4. Spread a thin layer of enchilada sauce on the bottom of a baking dish.
  5. Fill each gluten-free tortilla with the sweet potato mixture, roll tightly, and place seam-side down in the baking dish.
  6. Pour remaining enchilada sauce over the top and sprinkle with shredded cheese, if using.
  7. Cover with foil and bake for 20 minutes. Remove foil and bake for an additional 10 minutes until the cheese is bubbly and golden, if included.
  8. While the enchiladas are baking, make the avocado cream by blending avocado, sour cream, lime juice, salt, and pepper until smooth.
  9. Serve enchiladas warm, drizzled with avocado cream.

Notes

Storage: These enchiladas can be stored in an airtight container in the fridge for up to 3 days. Reheat in the oven or microwave before serving.

For a spicier kick, add jalapeños to the filling or garnish the enchiladas with chili flakes. If you need a quicker option, store-bought enchilada sauce can also be used instead of homemade.

These enchiladas can be made ahead of time and stored in the refrigerator before baking. Just cover them well with foil and bake when ready to serve. To reheat, cover with foil and warm in a 350°F oven until heated through.
August 4, 2026 0 comments
0 FacebookTwitterPinterestPocketEmail
Crispy Almond-Coconut Crusted Chicken Tenders
Gluten-FreeMain Dishes

Crispy Almond-Coconut Crusted Chicken Tenders

by Linda August 4, 2026
written by Linda

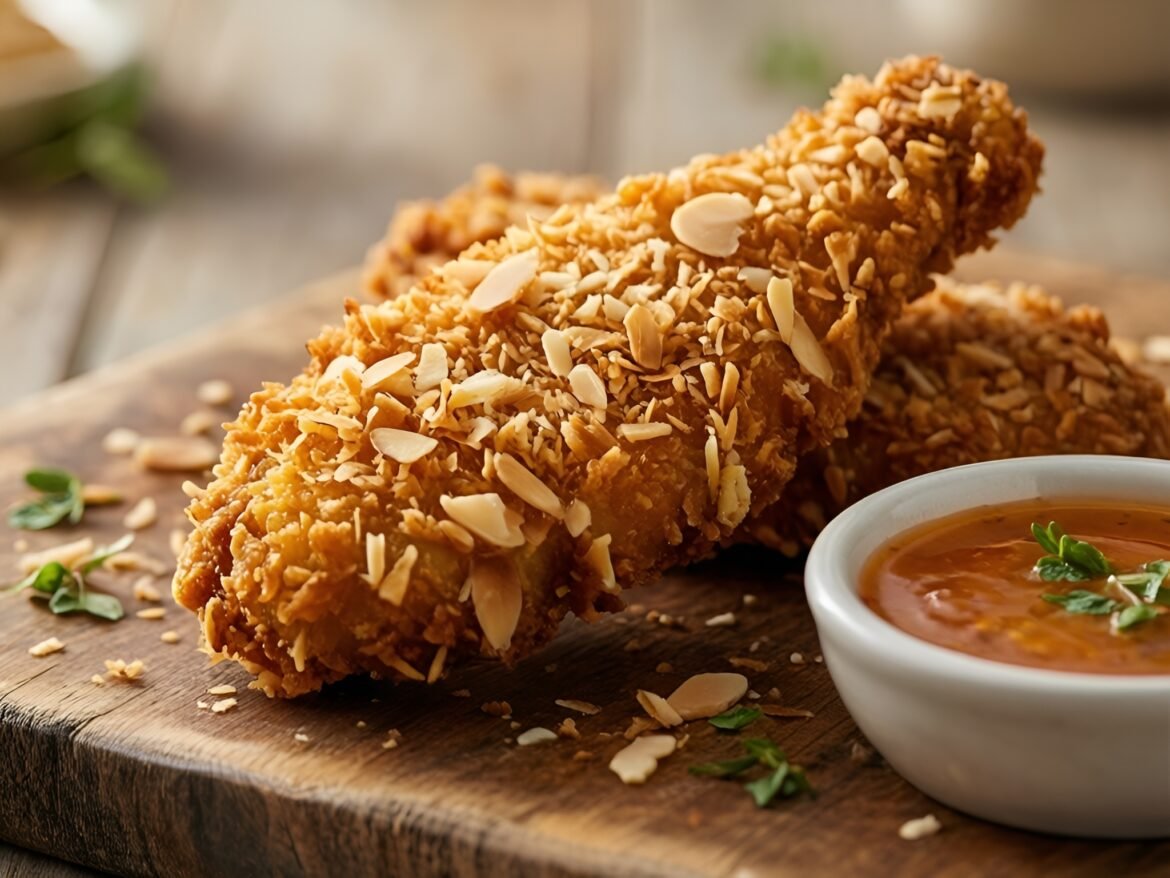
These Crispy Almond-Coconut Crusted Chicken Tenders are a flavorful twist on a classic favorite. Coated in a mixture of finely chopped almonds and shredded coconut, these tenders bring a delightful crunch to every bite. Not only are they gluten-free, but they also provide a boost of protein and healthy fats, making them a perfect choice for both kids and adults.

With a simple preparation method and quick cooking time, these tenders are ideal for busy weeknights or as a delicious appetizer at your next gathering. The combination of almond and coconut adds a subtle sweetness that pairs beautifully with a tangy dipping sauce.

Crispy Almond-Coconut Crusted Chicken Tenders

Crispy Almond-Coconut Crusted Chicken Tenders

Serves: 4 Prep Time: 15 minutes Cooking Time: 20 minutes 20 minutes
Nutrition facts: 320 calories 20g fat
Rating: 5.0/5
( 1 voted )
Pin
Print

Ingredients

INGREDIENTS

  • 1 lb chicken tenders
  • 1 cup almond flour
  • 1 cup unsweetened shredded coconut
  • 2 large eggs
  • 1 tsp garlic powder
  • 1 tsp onion powder
  • 1 tsp salt
  • 1/2 tsp black pepper
  • 1/2 tsp paprika
  • 1/4 tsp cayenne pepper (optional)
  • Cooking oil spray

Instructions

  1. Preheat your oven to 400°F (200°C) and line a baking sheet with parchment paper.
  2. In a shallow bowl, whisk together the eggs. In another bowl, combine the almond flour, shredded coconut, garlic powder, onion powder, salt, black pepper, paprika, and cayenne pepper.
  3. Dip each chicken tender into the egg mixture, shaking off any excess, then coat in the almond-coconut mixture. Press gently to adhere.
  4. Arrange the coated chicken tenders on the prepared baking sheet. Lightly spray the tops with cooking oil spray for a crisp finish.
  5. Bake in the preheated oven for 15-20 minutes, or until the chicken is cooked through and the coating is golden brown and crispy. Flip halfway through baking for even crispiness. Serve warm with your favorite dipping sauce.

Notes

Storage: These tenders can be refrigerated for up to 3 days. Reheat in the oven to retain crispiness.

For added flavor, consider marinating the chicken tenders in buttermilk or yogurt before breading. This will help to tenderize the meat and infuse it with moisture. If you’re looking to keep this recipe dairy-free, substitute with a plant-based milk alternative.

These chicken tenders are best enjoyed fresh, but they can be stored in an airtight container in the refrigerator for up to 3 days. To reheat, simply pop them back in the oven for a few minutes to restore their crispiness.

August 4, 2026 0 comments
0 FacebookTwitterPinterestPocketEmail
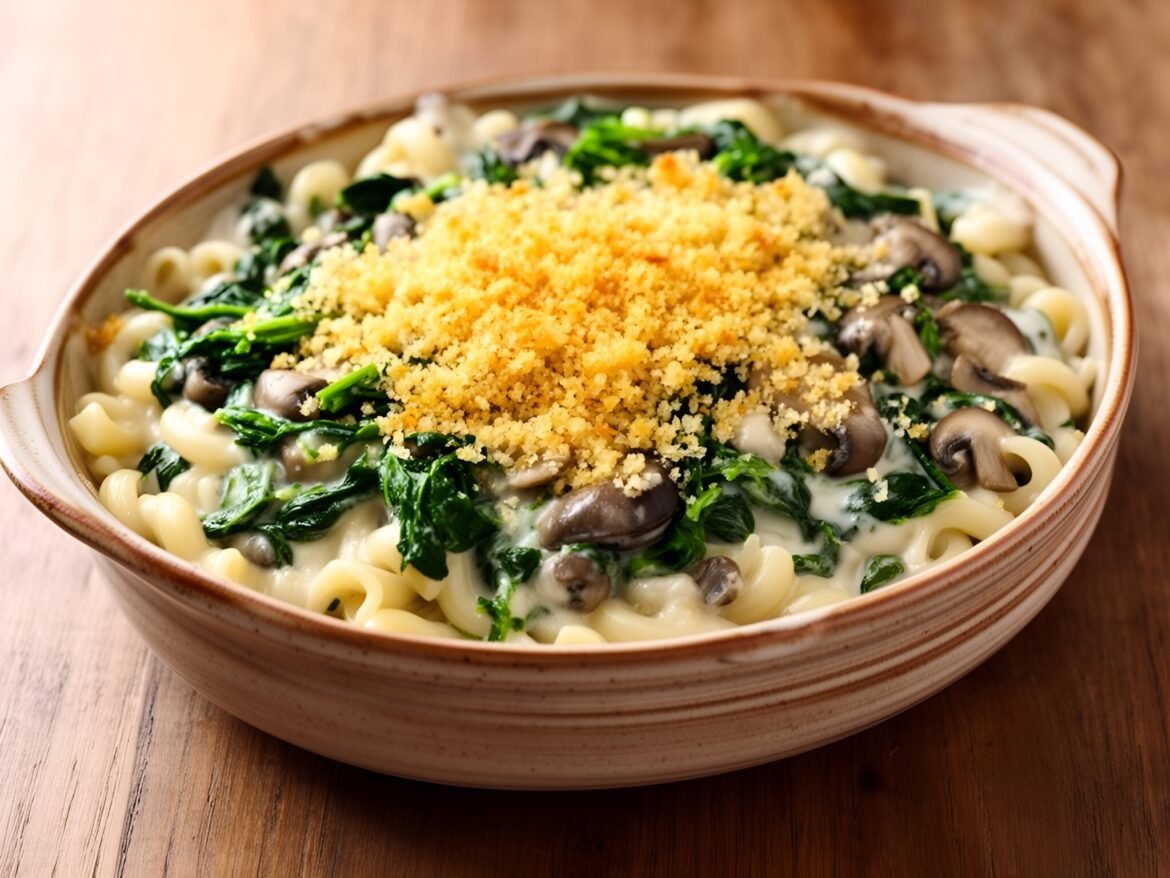
Wholesome Creamy Spinach and Mushroom Pasta Bake
Main DishesVegan

Wholesome Creamy Spinach and Mushroom Pasta Bake

by Linda August 4, 2026
written by Linda

Dig into this Wholesome Creamy Spinach and Mushroom Pasta Bake, a fulfilling vegan dish that combines the earthiness of mushrooms with vibrant spinach, all enveloped in a creamy, plant-based sauce. This comforting bake is perfect for weeknight dinners or meal prep, providing a nutritious and delicious option that will please everyone at the table.

The key to achieving a rich, creamy texture without dairy lies in the combination of cashews and nutritional yeast, providing both creaminess and a cheesy flavor. Topped with crispy breadcrumbs, this pasta bake is sure to become a new family favorite!

Wholesome Creamy Spinach and Mushroom Pasta Bake

Wholesome Creamy Spinach and Mushroom Pasta Bake

Serves: 4-6 Prep Time: 15 minutes Cooking Time: 30 minutes 30 minutes
Nutrition facts: 350 calories 15g fat
Rating: 5.0/5
( 1 voted )
Pin
Print

Ingredients

INGREDIENTS

  • 8 oz pasta (gluten-free if desired)
  • 1 cup raw cashews, soaked for 2-4 hours
  • 1 cup vegetable broth
  • 1/4 cup nutritional yeast
  • 2 tablespoons olive oil
  • 1 onion, diced
  • 3 cups mushrooms, sliced
  • 3 cups fresh spinach
  • 3 cloves garlic, minced
  • 1 teaspoon dried oregano
  • 1 teaspoon salt
  • 1/2 teaspoon black pepper
  • 1 cup breadcrumbs (gluten-free if desired)

Instructions

  1. Preheat your oven to 375°F (190°C).
  2. Cook the pasta according to package instructions until al dente. Drain and set aside.
  3. In a blender, combine soaked cashews, vegetable broth, nutritional yeast, oregano, salt, and pepper. Blend until smooth and creamy.
  4. In a large skillet, heat olive oil over medium heat. Add diced onion and sauté until translucent.
  5. Add sliced mushrooms and cook until they are tender and browned, about 5-7 minutes. Stir in minced garlic and fresh spinach, cooking until the spinach wilts.
  6. In a large mixing bowl, combine the cooked pasta, sautéed vegetables, and the creamy cashew sauce. Mix until well combined.
  7. Transfer the pasta mixture to a baking dish and top with breadcrumbs.
  8. Bake in the preheated oven for about 20-25 minutes, or until the top is golden and crispy. Serve warm and enjoy!

Notes

For a nut-free version, substitute cashews with silken tofu in the sauce.

To make this dish gluten-free, simply use gluten-free pasta varieties. You can also switch up the vegetables by adding in bell peppers or zucchini for extra color and nutrients. If you prefer a bit of heat, consider mixing in some red pepper flakes to the sauce.

For storage, keep leftovers in an airtight container in the fridge for up to 3 days. Reheat in the oven or microwave until warmed through. You can also freeze the pasta bake before baking; just thaw in the fridge overnight and bake as directed when ready to enjoy!

August 4, 2026 0 comments
0 FacebookTwitterPinterestPocketEmail
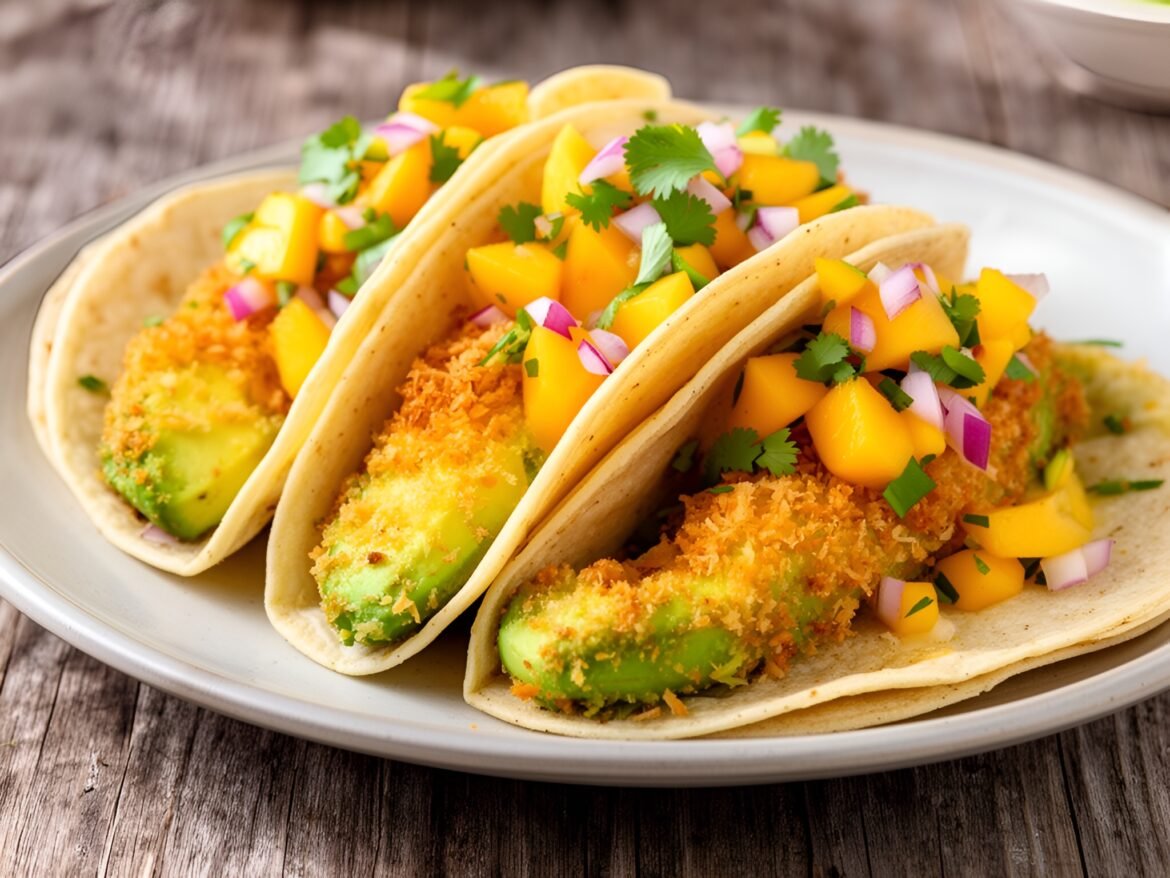
Crispy Coconut-Breaded Avocado Tacos with Mango Salsa
Main DishesVegan

Crispy Coconut-Breaded Avocado Tacos with Mango Salsa

by Linda August 4, 2026
written by Linda

These Crispy Coconut-Breaded Avocado Tacos bring a delightful twist to your taco night. The creamy avocado is perfectly encased in a crunchy coconut coating, making each bite a symphony of textures. Paired with a vibrant mango salsa, this dish is not only visually stunning but also packed with tropical flavors.

Perfect for a quick weeknight meal or a fun gathering, these vegan tacos are sure to impress. The combination of crispy coconut and sweet mango creates a refreshing balance that will have everyone coming back for seconds!

Crispy Coconut-Breaded Avocado Tacos with Mango Salsa

Crispy Coconut-Breaded Avocado Tacos with Mango Salsa

Serves: 4 Prep Time: 20 minutes Cooking Time: 15 minutes 15 minutes
Nutrition facts: 320 calories 18g fat
Rating: 5.0/5
( 1 voted )
Pin
Print

Ingredients

INGREDIENTS

  • 2 ripe avocados
  • 1 cup unsweetened shredded coconut
  • 1 cup breadcrumbs (use gluten-free if needed)
  • 1/2 cup flour (use gluten-free if needed)
  • 1 teaspoon garlic powder
  • 1 teaspoon onion powder
  • 1 teaspoon paprika
  • 1/2 teaspoon salt
  • 1/4 teaspoon black pepper
  • 1 cup plant-based milk
  • 8 small corn tortillas
  • 1 mango, diced
  • 1/4 red onion, finely chopped
  • 1/4 cup cilantro, chopped
  • Juice of 1 lime
  • Salt and pepper to taste

Instructions

  1. Preheat the oven to 425°F (220°C) and line a baking sheet with parchment paper.
  2. Cut the avocados in half, remove the pit, and scoop the flesh out. Cut each avocado half into thick slices.
  3. In a shallow bowl, mix together the flour, garlic powder, onion powder, paprika, salt, and pepper.
  4. In another bowl, pour the plant-based milk, and in a third bowl, place the shredded coconut and breadcrumbs together.
  5. Dredge each avocado slice in the flour mixture, dip it in the plant-based milk, then coat it in the coconut-breadcrumb mixture. Place the coated slices on the prepared baking sheet.
  6. Bake the avocado slices for 12-15 minutes, or until golden brown and crispy, flipping halfway through.
  7. While the avocados are baking, prepare the mango salsa by combining diced mango, red onion, cilantro, lime juice, and salt and pepper in a bowl. Toss to combine.
  8. Warm the corn tortillas in a dry skillet over medium heat for about 30 seconds on each side until pliable.
  9. Assemble the tacos by placing crispy avocado slices on each tortilla and topping them with mango salsa. Serve immediately.

Notes

For an extra tropical flavor, consider adding diced jalapeños to the mango salsa!

For an extra crunch, you can double-bread the avocados by dipping them in the batter twice before coating them with coconut. This will enhance the texture even more!

If you don’t have mango on hand, diced pineapple or peach also make for delicious salsas. Feel free to adjust the heat by adding jalapeños to the salsa if you like it spicy.

Store leftover tacos in an airtight container in the fridge for up to two days. Reheat in an oven to maintain the crispiness.

August 4, 2026 0 comments
0 FacebookTwitterPinterestPocketEmail
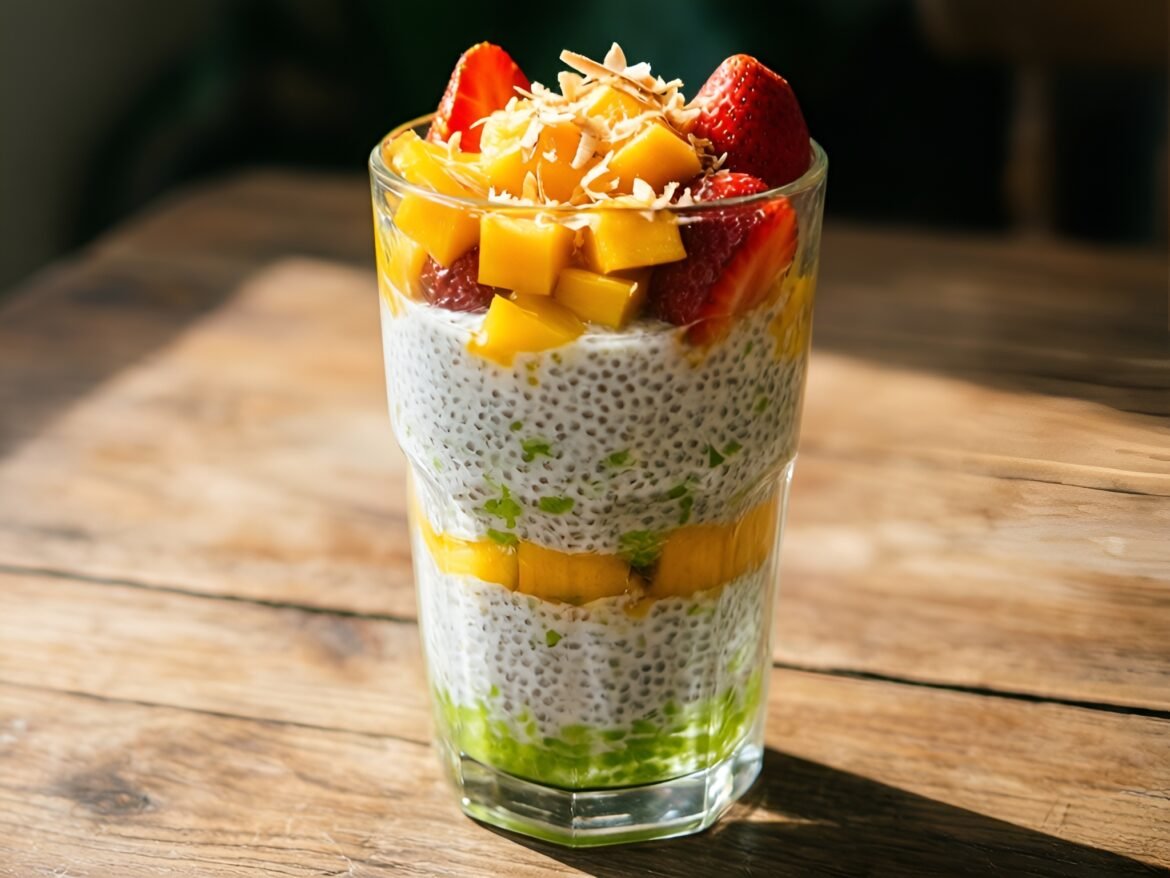
Luscious Coconut-Lime Chia Pudding Parfaits
Desserts & BakingVegan

Luscious Coconut-Lime Chia Pudding Parfaits

by Linda August 4, 2026
written by Linda

Indulge in a refreshing treat with these luscious coconut-lime chia pudding parfaits. The creamy coconut milk combined with zesty lime creates a perfect balance of flavors, making this dessert a delightful way to impress your guests or enjoy a sweet moment any day of the week.

This dish is not only easy to assemble but also packed with nutrition. Chia seeds are an excellent source of omega-3 fatty acids, fiber, and protein, making this parfait a guilt-free dessert that satisfies your sweet tooth while nourishing your body.

Luscious Coconut-Lime Chia Pudding Parfaits

Luscious Coconut-Lime Chia Pudding Parfaits

Serves: 4 Prep Time: 10 minutes Cooking Time: 0 minutes 0 minutes
Nutrition facts: 220 calories 12g fat
Rating: 5.0/5
( 1 voted )
Pin
Print

Ingredients

INGREDIENTS

  • 1 cup coconut milk (canned or carton)
  • 1/4 cup chia seeds
  • 2 tablespoons maple syrup (optional)
  • Zest and juice of 2 limes
  • 1/2 teaspoon vanilla extract
  • Fresh fruit for layering (such as mango, kiwi, or berries)
  • Toasted coconut flakes for garnish

Instructions

  1. In a bowl, whisk together the coconut milk, maple syrup, lime juice, lime zest, and vanilla extract until well combined.
  2. Stir in the chia seeds, making sure there are no clumps. Let the mixture sit for about 10 minutes, then stir again to break up any clumps of chia seeds.
  3. Cover the bowl and refrigerate for at least 4 hours or overnight to allow the chia seeds to expand and create a pudding-like texture.
  4. Once the chia pudding is ready, give it a good stir. In serving glasses, layer the chia pudding with your choice of fresh fruit.
  5. Top each parfait with some toasted coconut flakes for added crunch and flavor. Serve chilled and enjoy!

Notes

Note: Adjust the sweetness by adding more or less maple syrup based on your taste preference.

For the best texture, allow the chia seeds to soak for at least 4 hours or overnight. If you prefer a sweeter pudding, consider adding a touch of agave syrup or maple syrup to the coconut milk mixture. Feel free to experiment with toppings; fresh berries, toasted coconut flakes, or even a sprinkle of granola can enhance the parfait’s flavor and texture.

Store any leftovers in the refrigerator for up to 3 days. Just give it a stir before serving, as the chia seeds may settle.

August 4, 2026 0 comments
0 FacebookTwitterPinterestPocketEmail
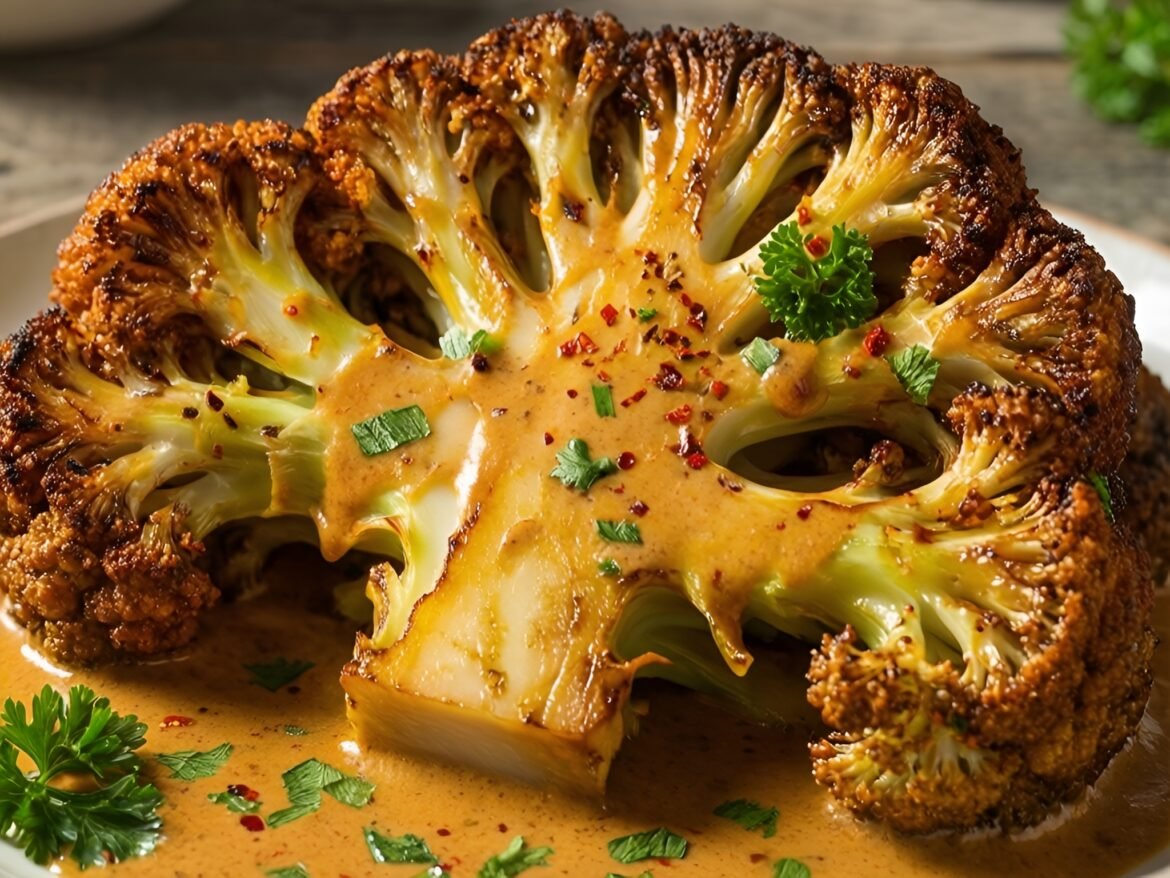
Savory Roasted Cauliflower Steaks with Spicy Tahini Drizzle
Main DishesVegan

Savory Roasted Cauliflower Steaks with Spicy Tahini Drizzle

by Linda August 4, 2026
written by Linda

Roasted cauliflower steaks are a fantastic way to enjoy this versatile vegetable, transforming it into a satisfying and hearty dish. With their beautiful golden-brown crust and tender interior, these steaks make a perfect canvas for the spicy tahini drizzle that adds a creamy, zesty kick.

The combination of roasting and seasoning brings out the natural sweetness of the cauliflower, while the tahini sauce elevates the flavors with its nutty richness and heat. Enjoy these steaks as a main dish, a side, or even as part of a vibrant veggie platter!

Savory Roasted Cauliflower Steaks with Spicy Tahini Drizzle

Savory Roasted Cauliflower Steaks with Spicy Tahini Drizzle

Serves: 2-4 Prep Time: 15 minutes Cooking Time: 25 minutes 25 minutes
Nutrition facts: 200 calories 16g fat
Rating: 5.0/5
( 1 voted )
Pin
Print

Ingredients

INGREDIENTS

  • 1 large head of cauliflower
  • 2 tablespoons olive oil
  • 1 teaspoon garlic powder
  • 1 teaspoon paprika
  • Salt and pepper to taste
  • 2 tablespoons tahini
  • 1 tablespoon lemon juice
  • 1 teaspoon maple syrup
  • 1/2 teaspoon red pepper flakes (adjust to taste)
  • Water as needed for thinning the sauce
  • Fresh parsley for garnish (optional)

Instructions

  1. Preheat the oven to 425°F (220°C).
  2. Remove the leaves from the cauliflower and slice it into 3/4-inch thick steaks. You should get about 2-4 steaks from the head, depending on its size.
  3. In a large bowl, mix the olive oil, garlic powder, paprika, salt, and pepper. Brush the mixture generously over both sides of the cauliflower steaks.
  4. Place the cauliflower steaks on a parchment-lined baking sheet and roast in the preheated oven for about 25 minutes, flipping halfway through, until golden brown and tender.
  5. While the cauliflower is roasting, prepare the spicy tahini drizzle by whisking together tahini, lemon juice, maple syrup, red pepper flakes, and enough water to reach your desired drizzling consistency.
  6. Once the cauliflower is done, remove it from the oven and drizzle the spicy tahini sauce over the top. Garnish with fresh parsley if desired and serve warm.

Notes

Storage: Leftover roasted cauliflower can be stored in an airtight container in the fridge for up to 3 days. Reheat in the oven for the best texture.

For the best flavor, ensure that the cauliflower steaks are evenly coated with olive oil and seasonings before roasting. If you prefer a milder sauce, reduce the amount of chili flakes in the tahini drizzle. These steaks store well in the fridge for up to three days, and can be reheated in the oven or enjoyed cold in a salad.

Feel free to experiment with different spices in the tahini drizzle; adding smoked paprika or cayenne pepper can give it an extra kick. These roasted cauliflower steaks pair beautifully with a side of quinoa or a fresh salad.

August 4, 2026 0 comments
0 FacebookTwitterPinterestPocketEmail
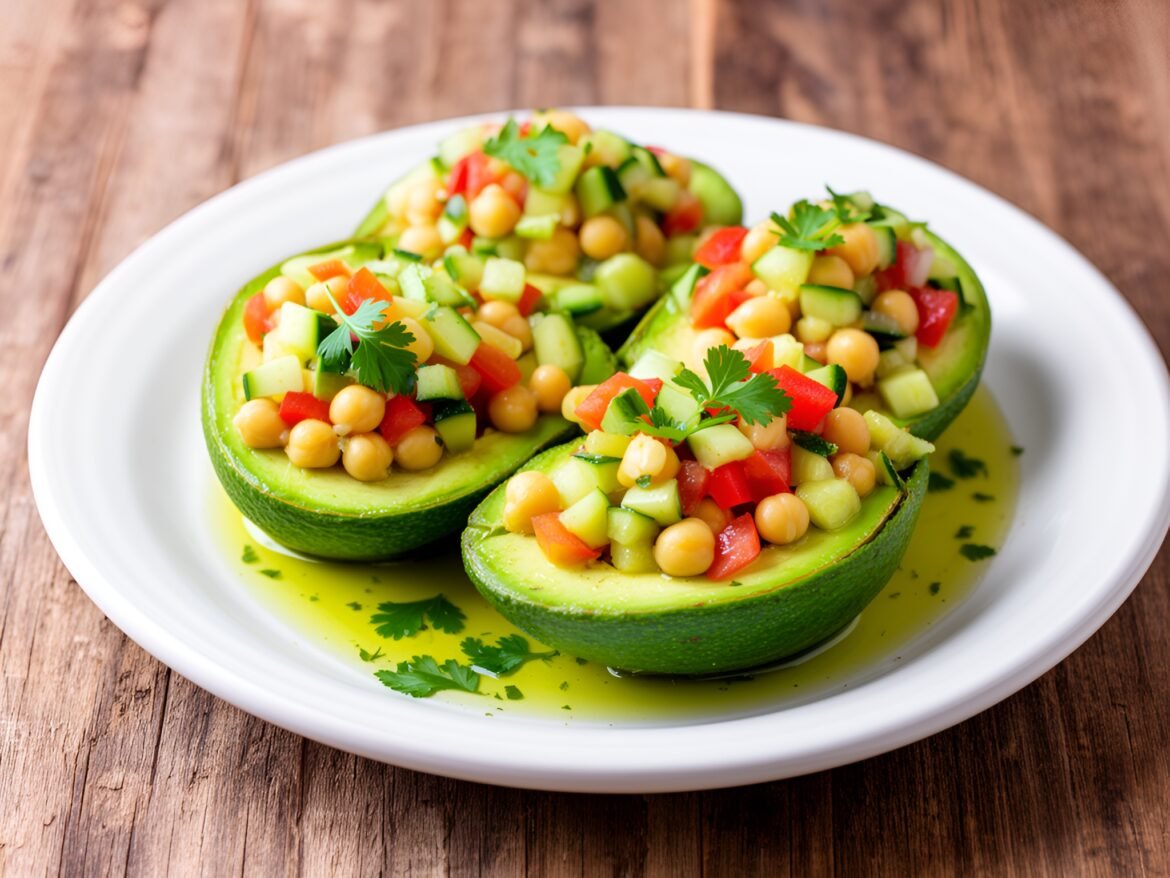
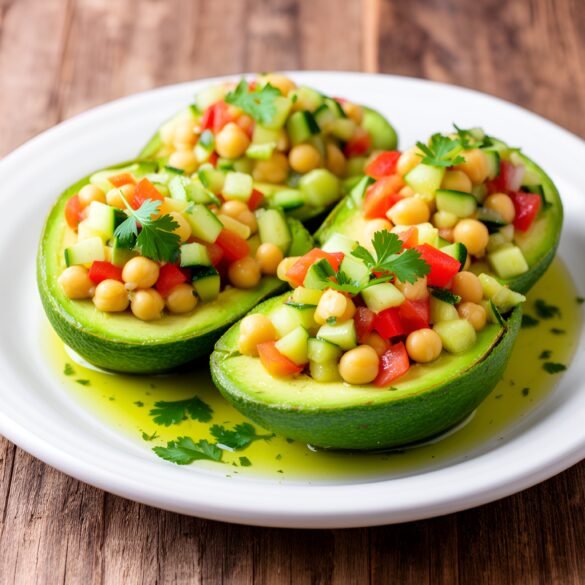
Mediterranean Chickpea-Stuffed Avocado Boats
Main DishesVegetarian

Mediterranean Chickpea-Stuffed Avocado Boats

by Linda August 4, 2026
written by Linda

These Mediterranean Chickpea-Stuffed Avocado Boats are a delightful and nutritious way to enjoy a satisfying meal or snack. The creamy avocado pairs perfectly with the crunchy chickpeas, fresh veggies, and zesty dressing, creating a flavor explosion in every bite.

This dish is not only visually appealing, with its vibrant green avocado and colorful filling, but it also offers a wealth of nutrients, making it a perfect choice for a healthy vegetarian diet. Whether served as an appetizer or a light lunch, these stuffed avocados will impress your family and friends.

Mediterranean Chickpea-Stuffed Avocado Boats

Mediterranean Chickpea-Stuffed Avocado Boats

Serves: 4 Prep Time: 15 minutes Cooking Time: 0 minutes 0 minutes
Nutrition facts: 320 calories 19g fat
Rating: 5.0/5
( 1 voted )
Pin
Print

Ingredients

INGREDIENTS

  • 2 ripe avocados
  • 1 can (15 oz) chickpeas, drained and rinsed
  • 1 small cucumber, diced
  • 1 medium tomato, diced
  • 1/4 red onion, finely chopped
  • 1/4 cup fresh parsley, chopped
  • 2 tablespoons olive oil
  • 1 tablespoon lemon juice
  • 1 teaspoon dried oregano
  • Salt and pepper to taste

Instructions

  1. Cut avocados in half and remove the pit.
  2. In a large bowl, combine chickpeas, cucumber, tomato, red onion, and parsley.
  3. In a small bowl, whisk together olive oil, lemon juice, oregano, salt, and pepper to create the dressing.
  4. Pour the dressing over the chickpea mixture and toss to combine.
  5. Scoop some of the chickpea mixture into each avocado half, filling generously.
  6. Serve immediately with a sprinkle of extra parsley on top, if desired.

Notes

Store any leftover chickpea mixture in the refrigerator for up to 2 days. The avocado halves are best enjoyed fresh to avoid browning.

For an extra kick, consider adding some feta cheese or olives to the chickpea mixture, which will enhance the Mediterranean flavors. If you want a vegan option, simply omit the cheese!

These avocado boats are best served fresh, but if you need to prepare them in advance, store the chickpea filling separately and stuff the avocados just before serving to prevent browning.

August 4, 2026 0 comments
0 FacebookTwitterPinterestPocketEmail
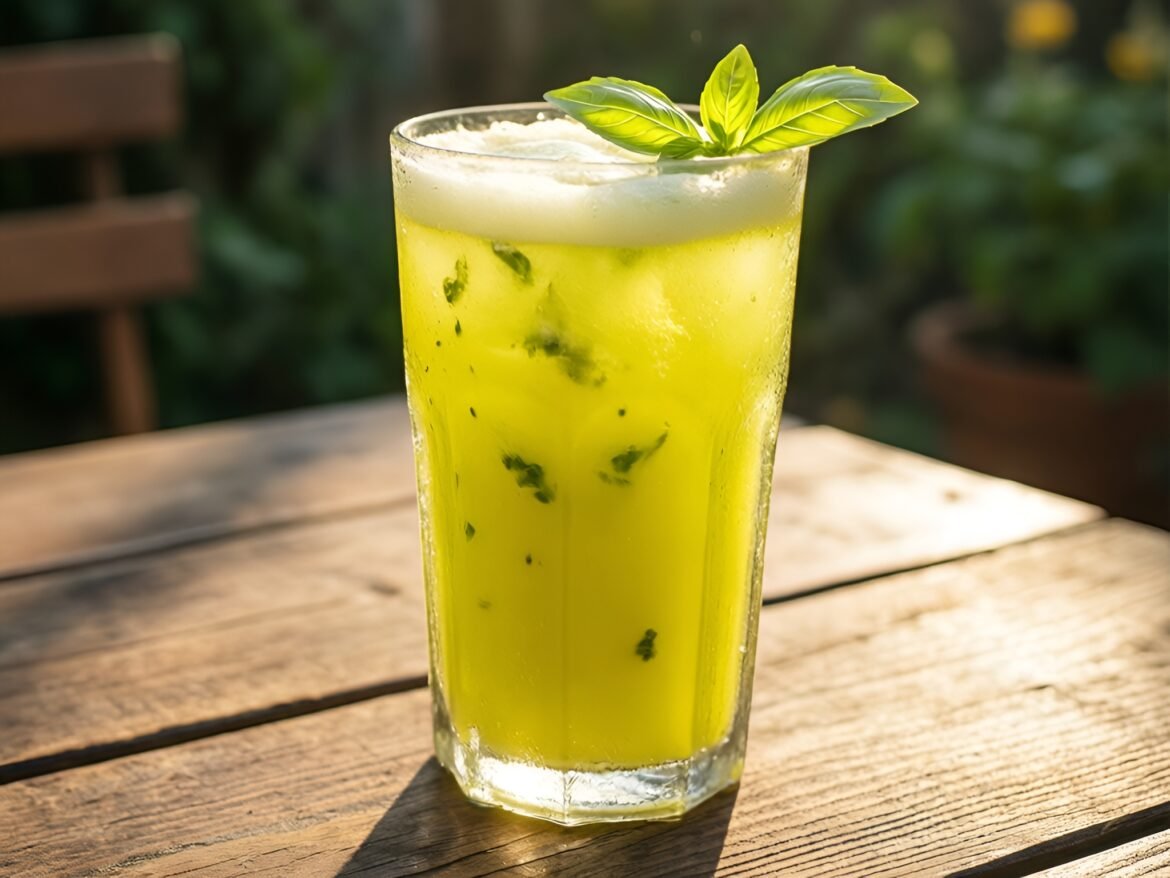
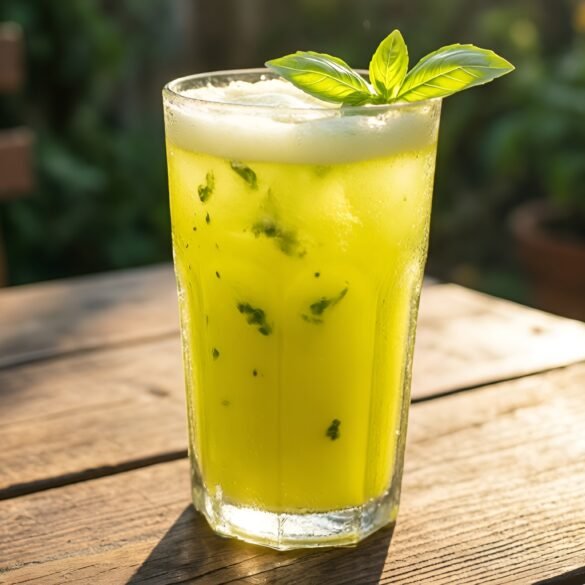
Frosty Pineapple-Basil Tea Cooler
Drinks & BeveragesGluten-FreeQuick & Easy (30-Min)Vegan

Frosty Pineapple-Basil Tea Cooler

by Linda August 4, 2026
written by Linda

Beat the heat with this delightful Frosty Pineapple-Basil Tea Cooler. This refreshing beverage combines the tropical sweetness of pineapple with the aromatic hints of fresh basil, creating a perfect balance of flavors. The addition of green tea not only adds a unique twist but also provides a gentle caffeine boost.

Perfect for summer gatherings or a relaxing afternoon on the porch, this cooler is easy to prepare and a guaranteed crowd-pleaser. Serve it over ice with a sprig of basil for an elegant touch!

Frosty Pineapple-Basil Tea Cooler

Frosty Pineapple-Basil Tea Cooler

Serves: 4 Prep Time: 10 minutes Cooking Time: 5 minutes 5 minutes
Nutrition facts: 120 calories 0g fat
Rating: 5.0/5
( 1 voted )
Pin
Print

Ingredients

INGREDIENTS

  • 2 cups fresh pineapple chunks
  • 1/2 cup fresh basil leaves
  • 4 cups brewed green tea, cooled
  • 2 tablespoons honey or agave syrup
  • Ice cubes for serving
  • Fresh basil for garnish

Instructions

  1. Brew the green tea and let it cool to room temperature.
  2. In a blender, combine the pineapple chunks, fresh basil leaves, and honey. Blend until smooth.
  3. Strain the pineapple-basil mixture through a fine sieve into a large pitcher to remove pulp.
  4. Add the cooled green tea to the pitcher and stir to combine well.
  5. Serve over ice cubes and garnish with fresh basil leaves.

Notes

Tip: For a fun twist, add a splash of sparkling water before serving for a fizzy finish!

For a sweeter cooler, you can add more honey or a splash of simple syrup. If you prefer a stronger tea flavor, steep the green tea longer or use a more robust tea blend.

Feel free to experiment with other herbs like mint or cilantro for a unique variation. This cooler can be made ahead of time; simply store it in the fridge and stir before serving.

Leftovers can be stored in an airtight container in the fridge for up to two days. Just give it a good shake or stir before enjoying!

August 4, 2026 0 comments
0 FacebookTwitterPinterestPocketEmail
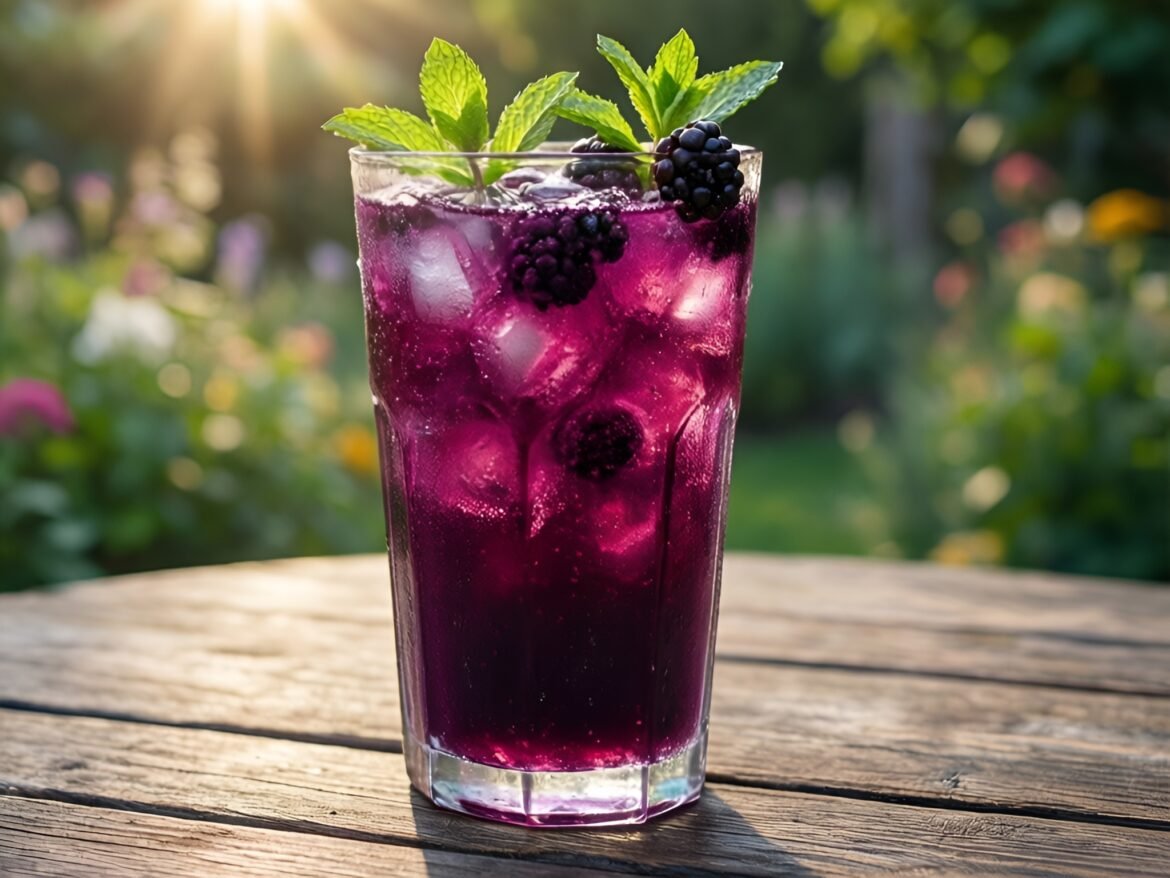
Blissful Blackberry-Mint Lemonade
Drinks & BeveragesGluten-FreeQuick & Easy (30-Min)Vegan

Blissful Blackberry-Mint Lemonade

by Linda August 4, 2026
written by Linda

Summer is the ideal time for a refreshing drink, and this Blissful Blackberry-Mint Lemonade hits all the right notes. The vibrant blackberries add a delightful sweetness, while fresh mint leaves offer a cool, invigorating twist. It’s a drink that not only quenches your thirst but also uplifts your spirits with its aromatic flavor combination.

This easy-to-make lemonade is perfect for gatherings or simply to enjoy on a sunny afternoon. Using fresh ingredients ensures a burst of flavor in every sip, while the beautiful color makes it a feast for the eyes. Serve it over ice for a truly refreshing experience!

Blissful Blackberry-Mint Lemonade

Blissful Blackberry-Mint Lemonade

Serves: 4 Prep Time: 10 minutes Cooking Time: 0 minutes 0 minutes
Nutrition facts: 120 calories 0g fat
Rating: 5.0/5
( 1 voted )
Pin
Print

Ingredients

INGREDIENTS

  • 1 cup fresh blackberries
  • 1/2 cup fresh mint leaves
  • 1 cup freshly squeezed lemon juice
  • 1/2 cup granulated sugar
  • 4 cups cold water
  • Ice cubes
  • Lemon slices and mint sprigs for garnish

Instructions

  1. In a blender, combine the blackberries, mint leaves, sugar, and 1 cup of cold water. Blend until smooth.
  2. Strain the mixture through a fine mesh sieve into a large pitcher to remove seeds and pulp.
  3. Add the freshly squeezed lemon juice and remaining 3 cups of cold water to the pitcher, stirring well to combine.
  4. Taste and adjust the sweetness if necessary, adding more sugar or water to suit your preference.
  5. Serve the lemonade over ice, garnished with lemon slices and fresh mint sprigs. Enjoy!

Notes

Tip: For an adult version, add a splash of vodka or gin for a refreshing cocktail.

To enhance the flavor, muddle the mint leaves gently before adding them to the lemonade for a stronger mint infusion. If you prefer a sweeter drink, adjust the sugar or use honey as a natural sweetener. For a fun twist, you can add a splash of sparkling water just before serving for a fizzy version!

Leftover lemonade can be stored in the refrigerator for up to three days. Serve it chilled, or add more ice to refresh it before drinking. For an elegant presentation, garnish each glass with extra blackberries and mint leaves.

August 4, 2026 0 comments
0 FacebookTwitterPinterestPocketEmail
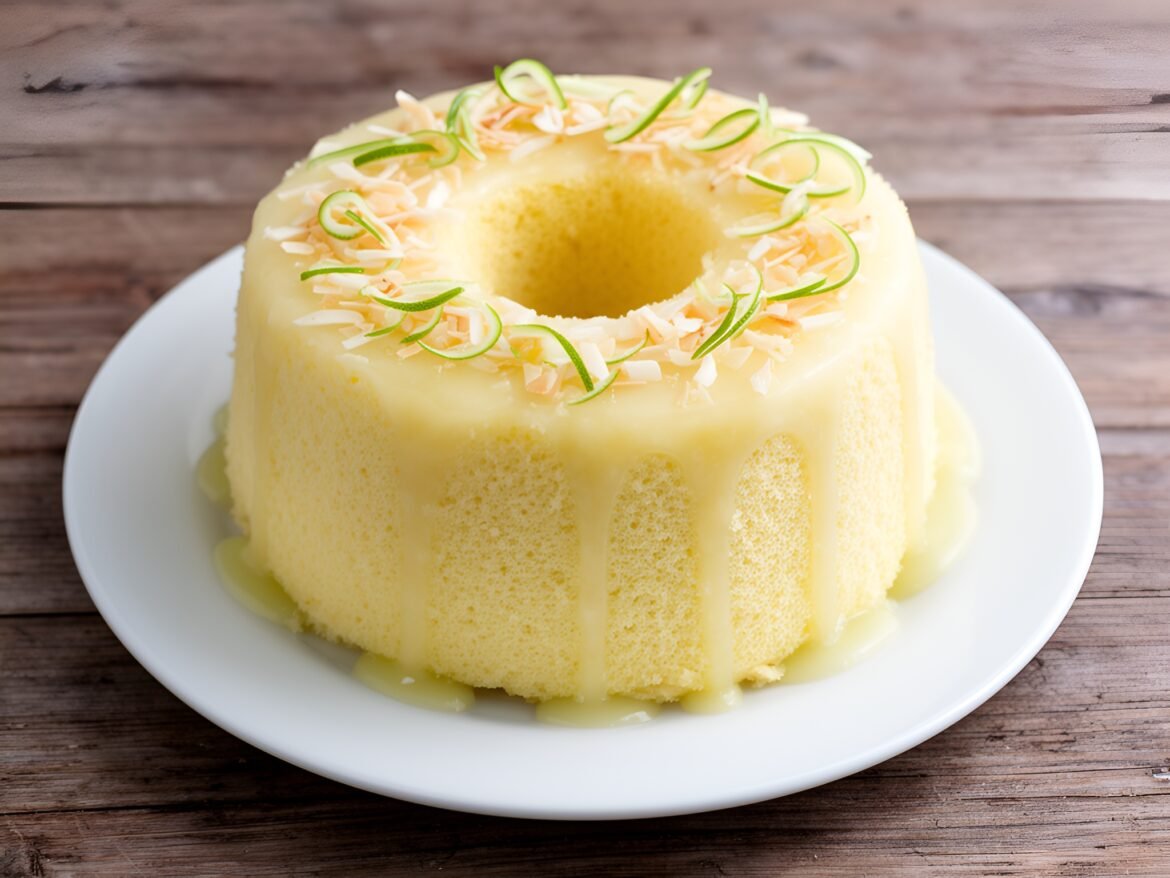
Light and Zesty Coconut-Lime Chiffon Cake
Desserts & BakingQuick & Easy (30-Min)Vegetarian

Light and Zesty Coconut-Lime Chiffon Cake

by Linda August 4, 2026
written by Linda

This Coconut-Lime Chiffon Cake is a delightful dessert that perfectly balances lightness and flavor. The airy texture of chiffon cake, combined with the tropical notes of coconut and the refreshing zing of lime, makes it an ideal treat for any occasion.

Using whipped egg whites and a gentle folding technique, this cake achieves a fluffy consistency that melts in your mouth. A hint of coconut extract enhances the flavor, while a zesty lime glaze drizzled on top brings everything together beautifully.

Light and Zesty Coconut-Lime Chiffon Cake

Light and Zesty Coconut-Lime Chiffon Cake

Serves: 8-10 Prep Time: 20 minutes Cooking Time: 30 minutes 30 minutes
Nutrition facts: 250 calories 12g fat
Rating: 5.0/5
( 1 voted )
Pin
Print

Ingredients

INGREDIENTS

  • 1 cup all-purpose flour
  • 1 cup granulated sugar
  • 1/2 cup unsweetened coconut milk
  • 1/2 cup vegetable oil
  • 3 large eggs, separated
  • 1 teaspoon baking powder
  • 1/4 teaspoon salt
  • 1/2 teaspoon cream of tartar
  • 1 teaspoon coconut extract
  • Zest of 1 lime
  • Juice of 1 lime

FOR THE GLAZE

  • 1 cup powdered sugar
  • 2 tablespoons lime juice
  • 1 tablespoon coconut milk
  • Lime zest for garnish

Instructions

  1. Preheat your oven to 325°F (160°C).
  2. In a large bowl, whisk together the flour, granulated sugar, baking powder, and salt.
  3. In another bowl, mix the coconut milk, vegetable oil, egg yolks, coconut extract, lime zest, and lime juice until well combined.
  4. Pour the wet ingredients into the dry ingredients and mix until just combined.
  5. In a separate bowl, beat the egg whites and cream of tartar until stiff peaks form.
  6. Gently fold the egg whites into the batter in three additions, being careful not to deflate the mixture.
  7. Pour the batter into an ungreased 10-inch tube pan and smooth the top.
  8. Bake for about 30-35 minutes, or until a toothpick inserted in the center comes out clean.
  9. Remove from the oven and invert the pan to cool completely before removing the cake from the pan.

Notes

Tip: For an extra decorative touch, you can sprinkle toasted coconut flakes over the glaze before serving.

To prevent the cake from sticking to the pan, ensure you do not grease the pan at all; the cake needs to cling to the sides to rise properly. If you want to enhance the coconut flavor, consider adding shredded coconut into the batter.

For storage, keep the cake covered at room temperature for up to 2 days or refrigerate for up to a week. This cake also freezes well; just make sure it’s tightly wrapped.

August 4, 2026 0 comments
0 FacebookTwitterPinterestPocketEmail
Newer Posts
Older Posts

Recent Posts

  • Vibrant Sunrise Quinoa Power Bowls with Homemade Berry Compote

    September 15, 2026
  • Decadent Cinnamon Swirl Banana Crumb Bake

    September 15, 2026
  • Refreshing Lavender Citrus Sparkling Elixir for Summer Sips

    September 15, 2026
  • Refreshing Cucumber Mint Cooler for Hot Days

    September 15, 2026
  • Delightfully Decadent Toasted Almond Joy Cheesecake Bites

    September 15, 2026

About Me

About Me

I'm Linda, a health professional, university graduate, and author sharing tested, easy-to-follow recipes made from simple, everyday ingredients. Based in Finland, I bring together my culinary training, love of travel, and home-cooked roots to help you cook confidently, on any budget.

Products

  • Spooky Creative Starry Sky Ceramic Mug Spooky Creative Starry Sky Ceramic Mug 10,00 €

Categories

  • Appetizers & Snacks (159)
  • Breakfast & Brunch (129)
  • Desserts & Baking (174)
  • Drinks & Beverages (136)
  • Gluten-Free (205)
  • Grilling & BBQ (11)
  • Healthy & Low-Calorie (194)
  • Holiday & Seasonal (20)
  • Kid-Friendly (241)
  • Main Dishes (190)
  • Quick & Easy (30-Min) (693)
  • Slow Cooker & Instant Pot (4)
  • Soups & Salads (111)
  • Vegan (166)
  • Vegetarian (571)

About Me

I'm Linda, a health professional and food writer sharing tested, easy-to-follow recipes made from simple ingredients.

Email: jspiceygiftstv@gmail.com

Useful Links

  • Home
  • About
  • Contact
  • Free Cookbooks
  • Terms and Conditions
  • Privacy Policy

Newsletter

Subscribe to to our Newsletter to stay updated with all our recipes.

Recent Posts

  • Vibrant Sunrise Quinoa Power Bowls with Homemade Berry Compote

    September 15, 2026
  • Decadent Cinnamon Swirl Banana Crumb Bake

    September 15, 2026
  • Instagram
  • Pinterest
  • Youtube
  • Tiktok

@2026 - All Right Reserved. Designed and Developed by JSpiceyGifts

J Spicey Gifts
  • Home
  • Recipes
    • Breakfast & Brunch
    • Appetizers & Snacks
    • Main Dishes
    • Soups & Salads
    • Desserts & Baking
    • Drinks & Beverages
  • Categories
    • Vegetarian
    • Vegan
    • Gluten-Free
    • Quick & Easy (30-Min)
    • Slow Cooker & Instant Pot
    • Grilling & BBQ
    • Healthy & Low-Calorie
    • Holiday & Seasonal
    • Kid-Friendly
  • About
  • Contact

Shopping Cart

Close

No products in the cart.

Close